So you want to install the AvP Classic modding tools but you don't have Gold Edition. Not a problem anymore. In my past guides I stated that you needed to install Gold Edition because the tools wouldn't function without them. Well now I present to you a way to use all the tools your heart desires without the manual install of the game from 2000. Many people can't get Gold Edition and a lot of modern CPUs don't come with ejectable CD trays anyway. I have experimented on my own computer (Windows 11) that has no CD tray and I have gotten the tools to work.
Please note that while this will get the AvP tools working, which will allow you to do all sorts of modding things with AvP Classic 2000, this will not GIVE you AvP Gold Edition. Which is to say, the files all have to be your own from the Steam or GOG release, and you won't be able to run any mods that require AvP Gold's engine. However, this is almost assuredly a non-issue for all but the most die-hard of fans. Plus you can purchase a digital version of AvP Gold from Zoom Platform if you really want to try your luck.
Getting Set Up Without AvP Gold Edition
First things first, I'm going to assume you've already bought AvP Classic 2000 and it's in your Steam library. Otherwise why are you reading this guide? Here's what you need to do next.
Navigate to your Aliens versus Predator Classic 2000 folder. The quickest way to get there for Steam users is to right-click on the game in your Library, then go to Properties, Installed Files, and finally Browse. This should take you directly to the folder. The path is usually something like C:\Program Files (x86)\Steam\steamapps\common\Aliens versus Predator Classic 2000.
Copy the entire folder. Now go to C:\Program Files (x86). Create a folder here called Fox. Now paste the AvP Classic 2000 folder that you copied into the Fox folder. Rename the folder to Aliens versus Predator.
Editing the Registry
Now go to your Windows taskbar, type regedit and hit Enter. This will pull up your Windows registry. Since you aren't installing AvP Gold to your computer via discs (or ISOs), you're going to have to manually add the entries that tell the tools that you've installed the game. Follow this path here: Computer\HKEY_LOCAL_MACHINE\SOFTWARE\WOW6432Node\
Right-click and create a folder called Fox Interactive. In this folder, create a sub-folder called Aliens versus Predator. Inside the Aliens versus Predator folder, right-click, select New, then select String Value. For Value name, name it Path, and for Value data, type in C:\Program Files (x86)\Fox\Aliens versus Predator. Look at the following image for clarification.

Now, also in the Fox Interactive folder, create another folder called Aliens versus Predator Gold Edition. Inside you don't need to create anything. By default there should be a regular string just called (Default). These have no values so they'll just stay in there.

Here's the last thing you'll have to do in the registry. In WOW6432Node\ (not in Fox Interactive), create a folder called Rebellion. Inside the Rebellion folder, create a folder called Internal. Inside the Internal folder, create a folder called Tools. Inside the Tools folder create a folder called Directories. Inside the Directories folder, create a folder called Textures. If done correctly, you should be finished with the registry now.

Acquiring and Setting Up the Official Fox Tools
Now you need the modding tools. You can get the complete modding tools, which contains the official Fox tools as well as useful extra tools, here: Moddb.com
Open the AvP Editing Tools.zip file. Inside, open avptools.zip, then fox editing tools. Run the avptoolssetup.exe. If you followed the above instructions, they should install to your C:\Program Files (x86)\Fox\Aliens versus Predator folder. If you did not create the registry entries correctly, you will get the following message:

Now just as an aside, you can actually open up the avptoolssetup.exe file and manually extract the contents to your folder yourself. However, they may not work correctly this way.
Setting Up Inteng
Inteng (short for Interface Engine) is one of the main level editors. Using and understanding it is key to everything from making small tweaks/alterations to the stock maps to creating entirely new custom maps out of your wildest imagination.
Assuming the .exe placed them in your folder correctly, navigate to your AvP folder. Go to your Tools folder. Inside you should see inteng.exe, inteng.ini, and IntengOptions.ini. Open IntengOptions.ini with a text editor such as Notepad. For Screen Width and Screen Height, change them to your monitor's native resolution, because the default is 640x480.
Now I'm including this part because this was necessary for me. It may not be necessary for you, but if Inteng is not displaying properly, download the following two .dll files from here: Avpunknown.com and place them in the Tools folder. The two .dll files are D3DImm.dll and DDraw.dll. If these aren't in your tools folder, it's quite likely that Inteng won't render the graphics properly.
Associating .RIF Files
Simply double-clicking on Inteng won't do anything, you can only use the program to open something up. Go to any avp_rifs folder. Inside are the map files. Right-click on any of them, then go to Open with..., scroll down to the bottom and select Choose an app on your PC, navigate to C:\Program Files (x86)\Fox\Aliens versus Predator\Tools and select Inteng.exe. For ease, select Always use this option. It should load the map correctly.
For the most part, that should be it regarding the official Fox tools. Inteng is the only program in the official tool set that has a 3D graphical interface (well, there is geomtool but we don't talk about that...). As such, it's usually the main culprit of compatibility and visual problems. If Inteng still doesn't run, try running it as the administrator or try different compatibility options.
Associating .RIM Files
When you run the avptoolssetup.exe, it should create a graphics folder in your root Aliens versus Predator folder. Inside these are all of the game's graphics files, called .RIMs. Right-click any of these, choose Open with..., navigate to your Tools folder, and choose IFFView.exe. Then select to always open these with this program.
Recommended Secondary Programs
Fastfile Explorer
The next program I would advise you to install is Fastfile Explorer. In the AvP Editing Tools download, open the .zip file called Old Modding Tools. Find the program called Fastfile Explorer and install it anywhere. This program allows you to open and see the contents of the .FFL files in AvP's fastfile folder.

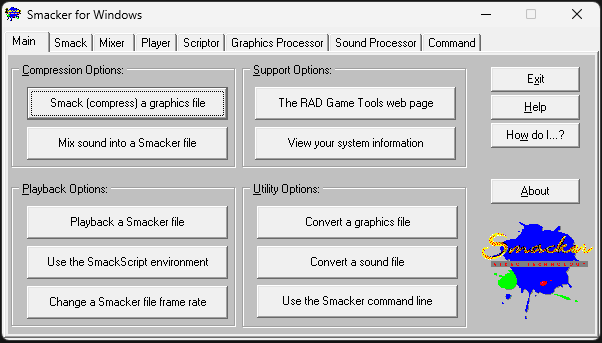
Bink and Smacker Tools
If you want to modify or create your own FMVs or create your own music files that the game can play, open up the Smackerw.zip file in the AvP Editing Tools, download and extract its contents to a folder anywhere.
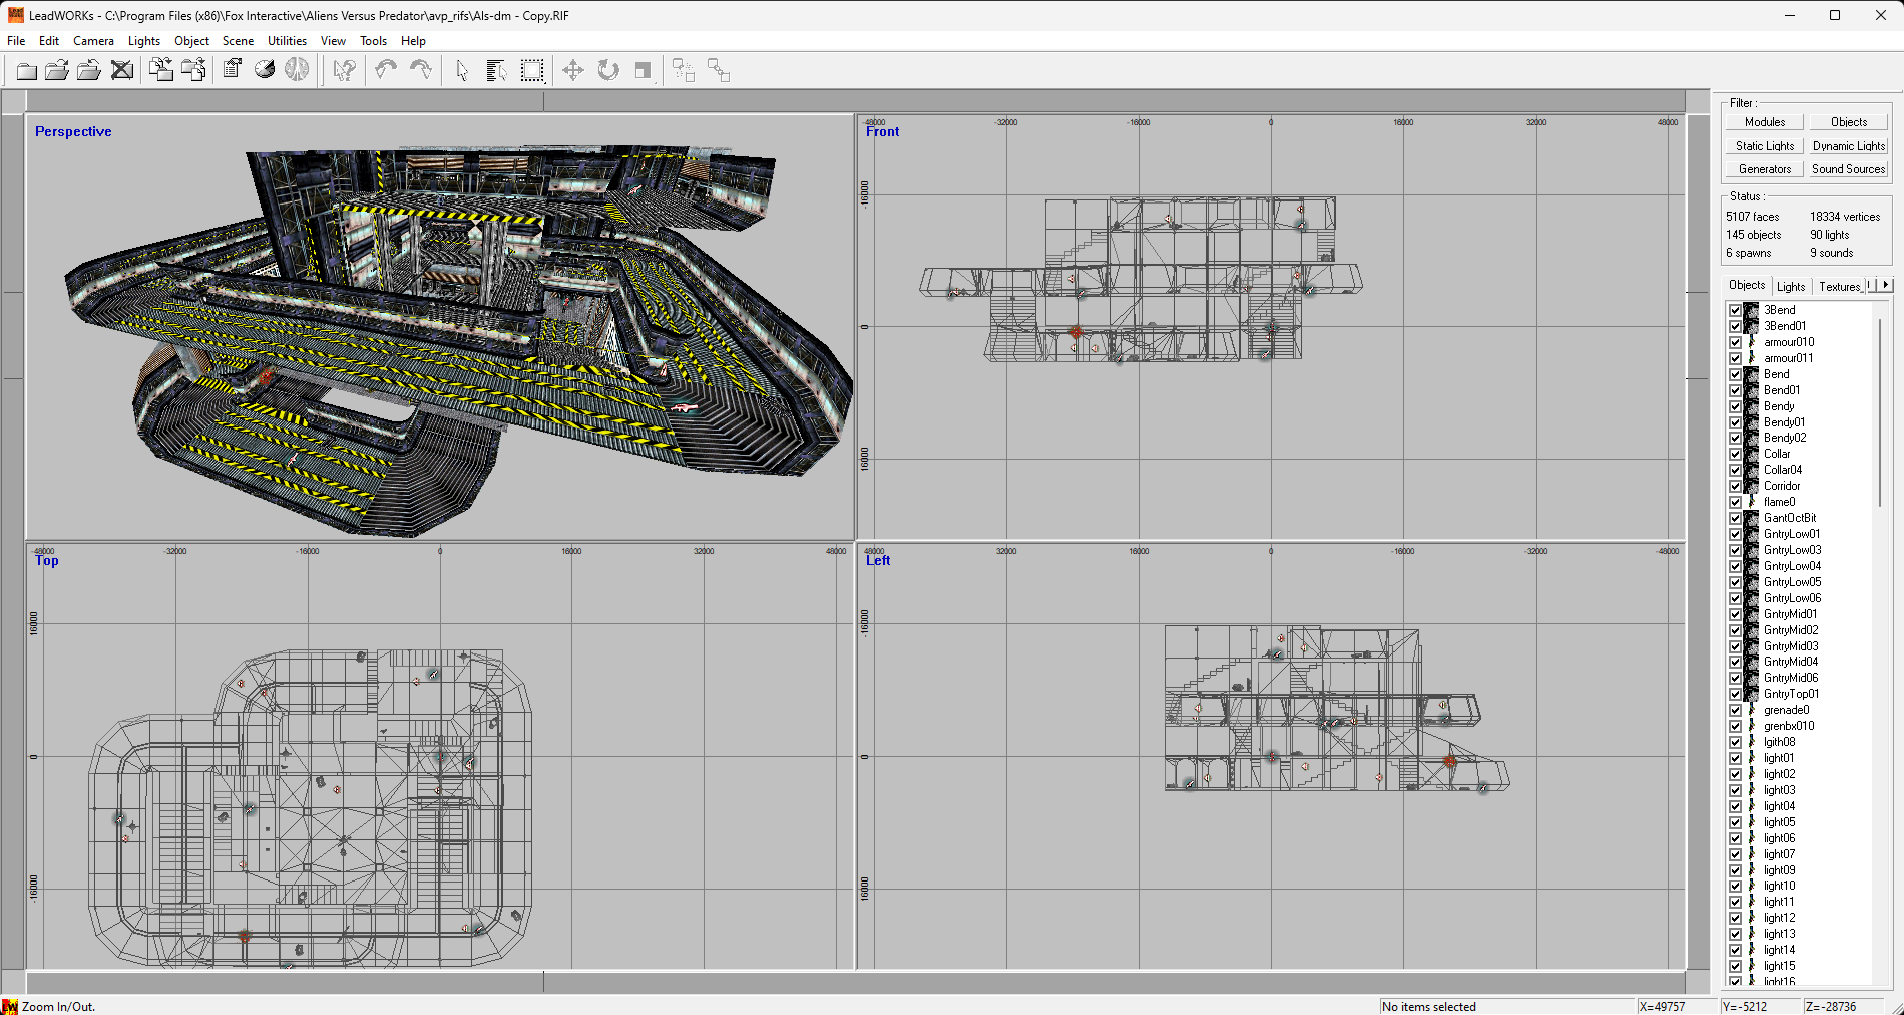
Leadworks
If you want to look at or edit levels, you can install Leadworks. However, I highly advise against making something of substantial quality with it, mostly because it tends to produce a lot of unexpected errors in the exporting process. One of the only major benefits of this program is that it has a good graphics user interface.
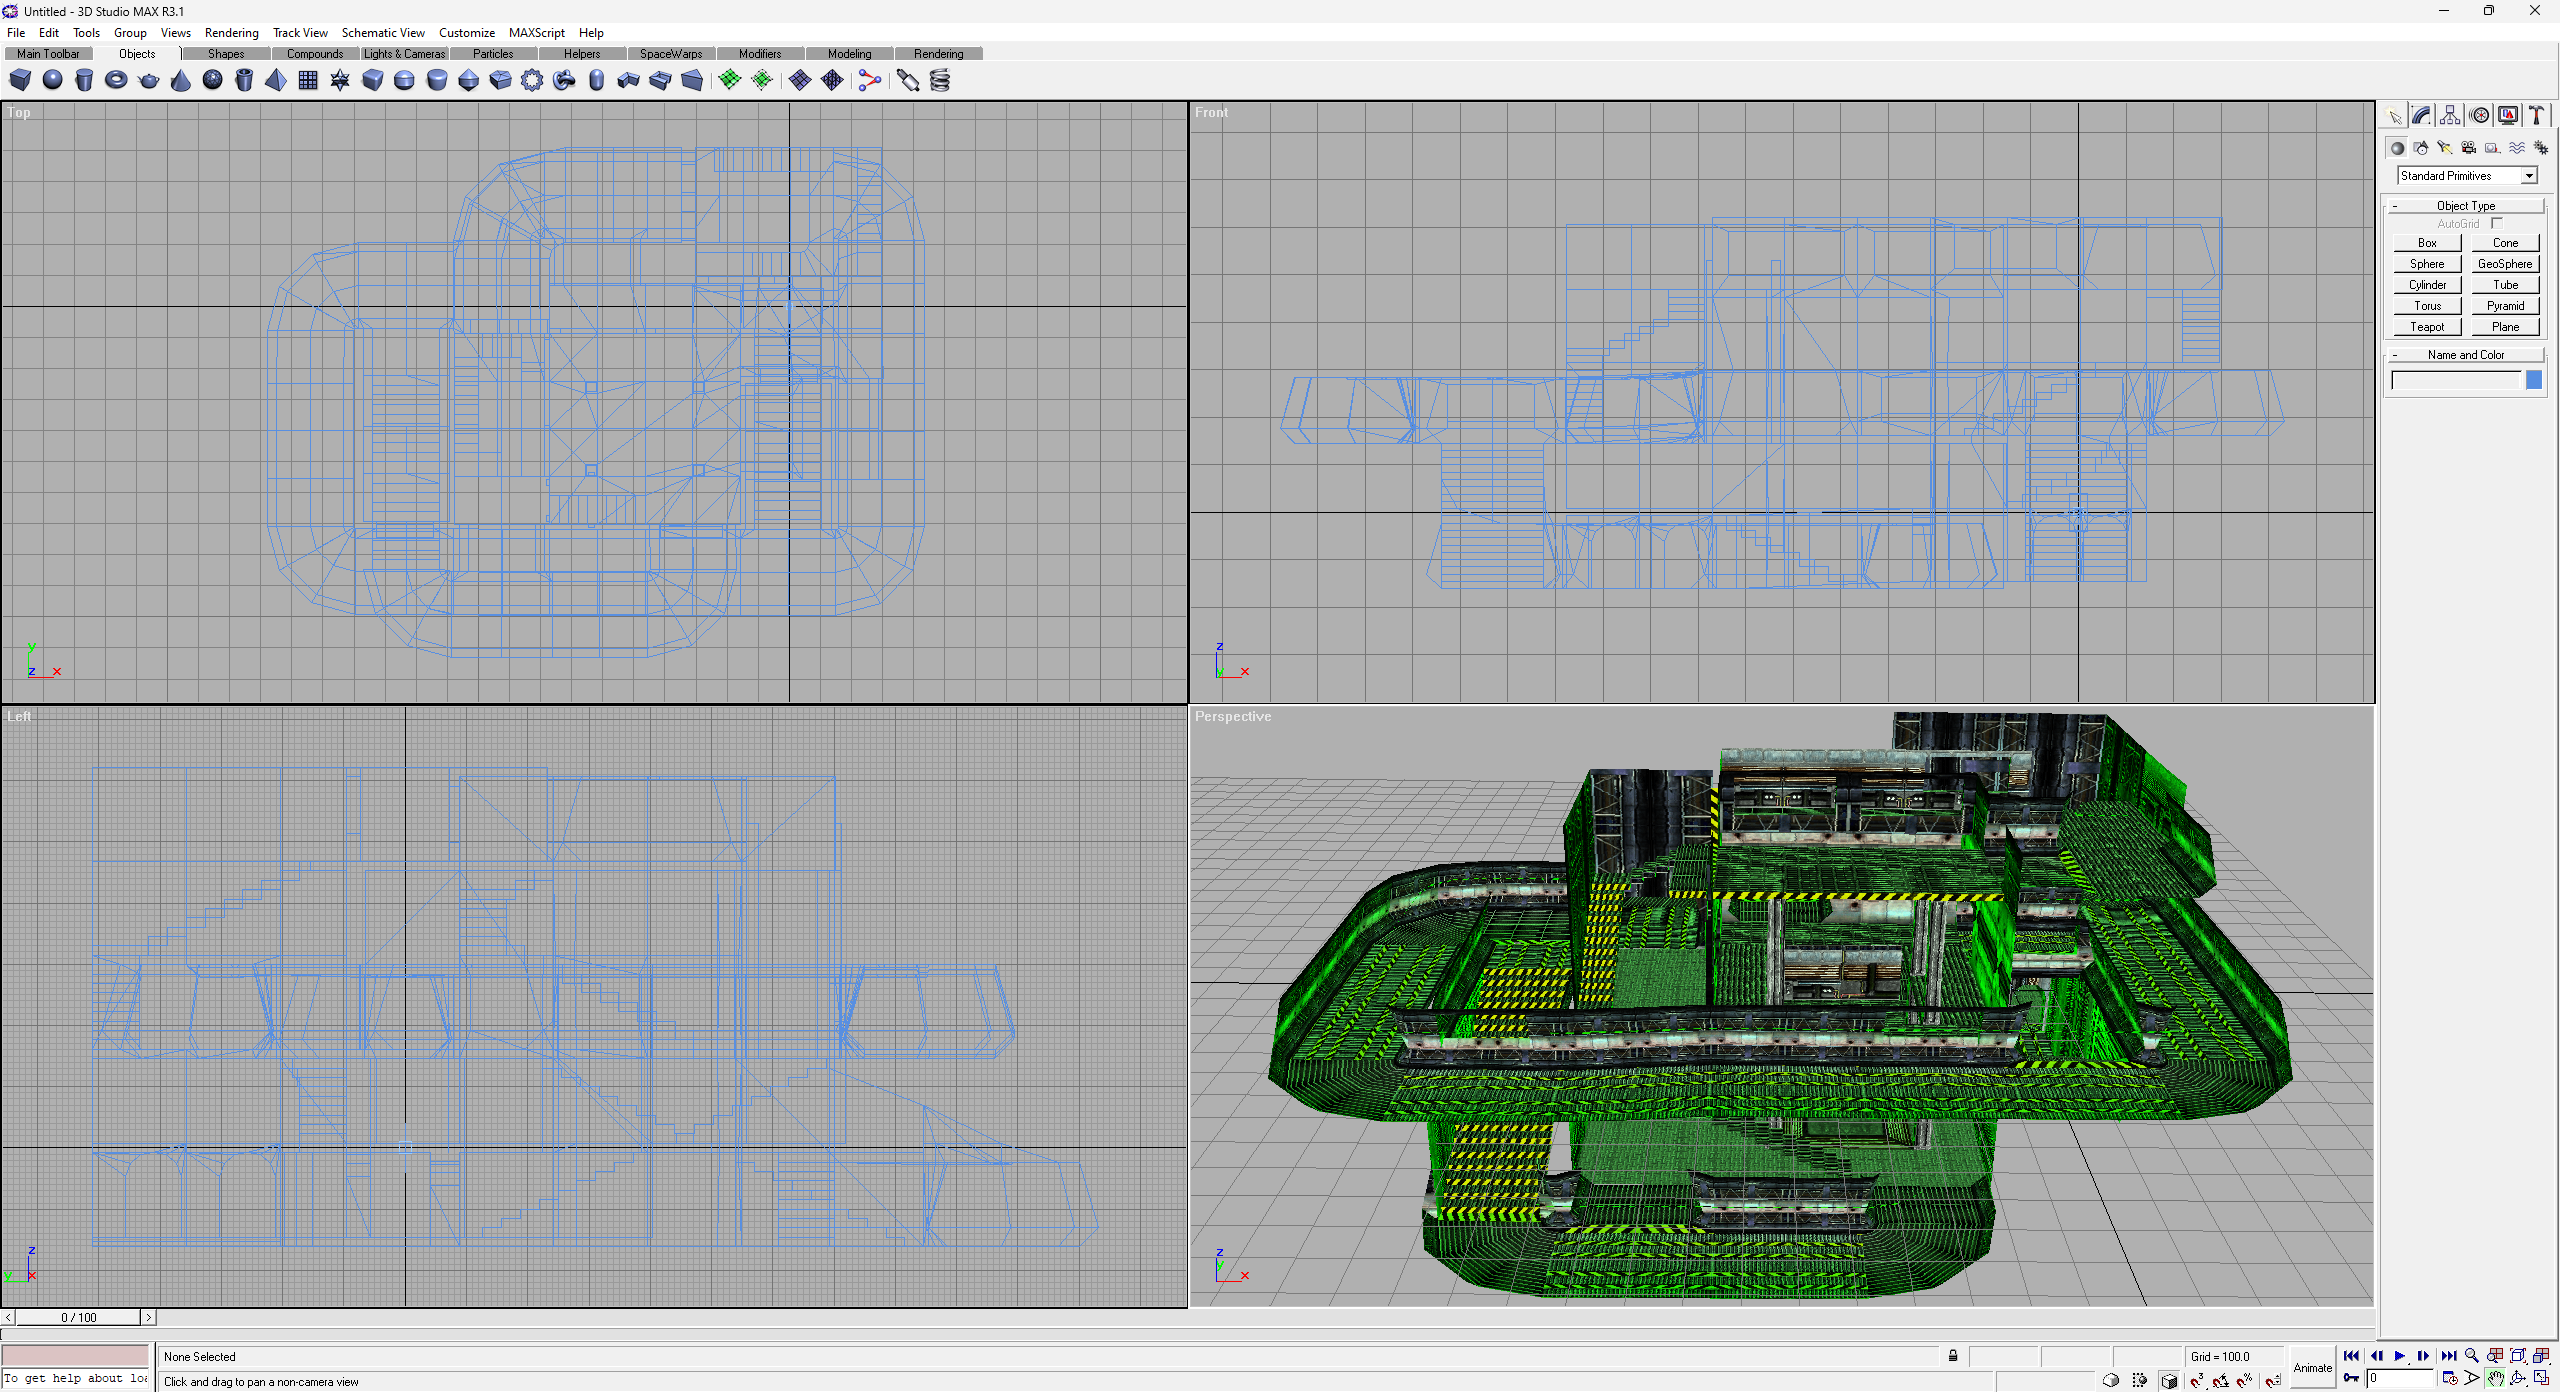
3D Studio Max R3 or 3.1
If you want to create levels, I recommend installing 3D Studio Max R3.1, however this is not actually necessary (see the note below). Open up AvP_GE Level Creator.zip, extract the contents to C:\Program Files\Autodesk\3dsmax3.1. When you first run it, it will ask you for registration. Select Individual and Already have a registration key (authorization code). The registration information is in a text file in the root folder called RegInfo.txt.
Once installed, you'll have to place the .RIF plugins (in AvP's Tools folder) into the following folder: Autodesk\3dsMax3.1\Plugins. The program may not load or display correctly without first editing the 3dsmax.ini file. Open this file (located in the root 3dsmax folder), then find the line that says "GFXType". Make sure the line says this: GFXType=HEIDI
If you're able to load the program but you're still seeing errors or the grid/graphics not displaying correctly, select Customize from the toolbar, then Preferences. Find the Viewports tab and try to make changes to display things correctly.
Note: You don't actually have to use 3D Studio Max to create levels. Ccamain in the AvP Tools can convert to .RIF and this program can import the file type .3ds and .asc. So as long as you can get your map into a .3ds format, you can use Blender, Hammer, or a newer version of 3D Studio Max to create your map. However, upon converting to .RIF, the texturing will break.
Now that you should have the tools working, you are set up to browse and create your own custom skins, sounds, FMVs, and maps! Obviously that is beyond the scope of this guide, but you can continue with your modding venture by reading my ModDB guide on creating custom skins, sounds, and FMVs.
Thanks for reading and I hope this helps some people. If you're on Linux and you don't want to install Gold, I'm sorry but you may have to get the edited registry entries a different way. I'm not on Linux so I can't help you there.