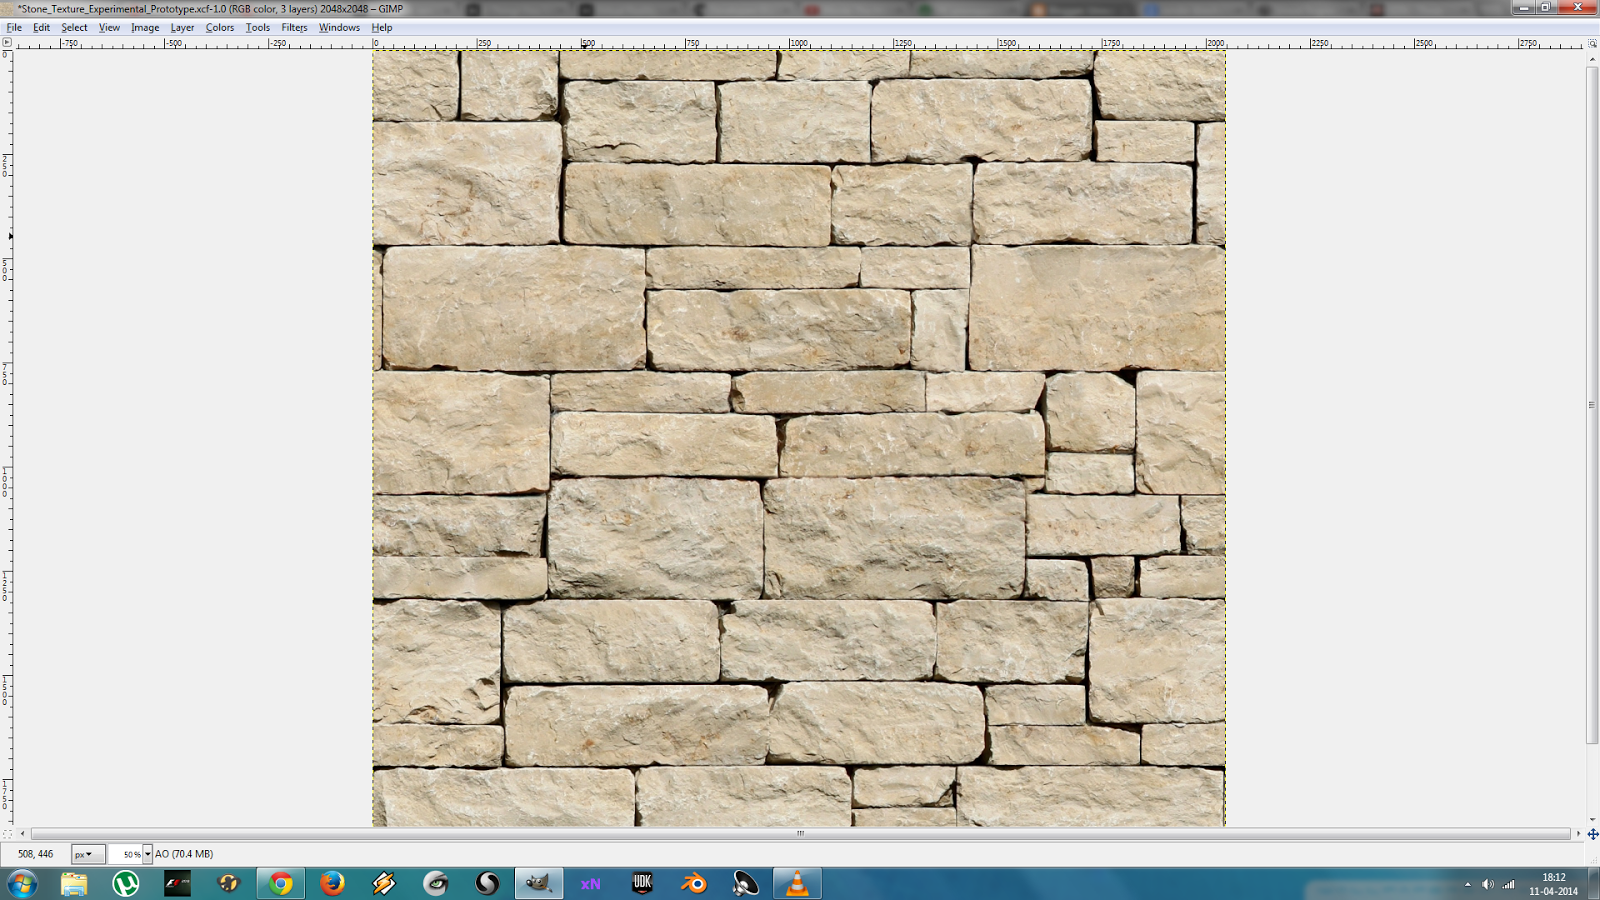
Well this is a continuation of my last post. By the end of my last post, I had managed to bake a normal map, a height map and an A.O. map. I intend to use that normal map in UDK's material editor. As for the A.O. map, UDK already has it's own ambient occlusion scene going on. So I decided to take my A.O. map and merge it with my original diffuse map in GIMP. Currently I'm using DirectX 9 to render the game, and so that means I do not have access to the Tessellation features in DirectX 11 version. I'm doing this for two reasons. One is that seams in UV mesh tend to tear up the mesh when Tessellation is enabled. The second is the performance drop it would cause for the small increase in the detail of my meshes. A height map will also have to be added thus increasing the memory footprint. I might enable Tessellation later on for Landscape objects and objects like rocks which actually benefit a lot from displacement maps and Tessellation. In that case I could probably hide the area where UV seams occur so that mesh tearing isn't evident to the player. Anyways for my current situation, I decided to merge my height map with my diffuse texture as well. All this can be done pretty easily using GIMP. Below I've shown a detailed description with screenshots of how to set this up in GIMP. So this post is basically like a tutorial for people who are starting out with GIMP and game development. First open up the diffuse texture in GIMP. You'll get a screen like what's shown below. Nothing fancy, just the image that you've opened.
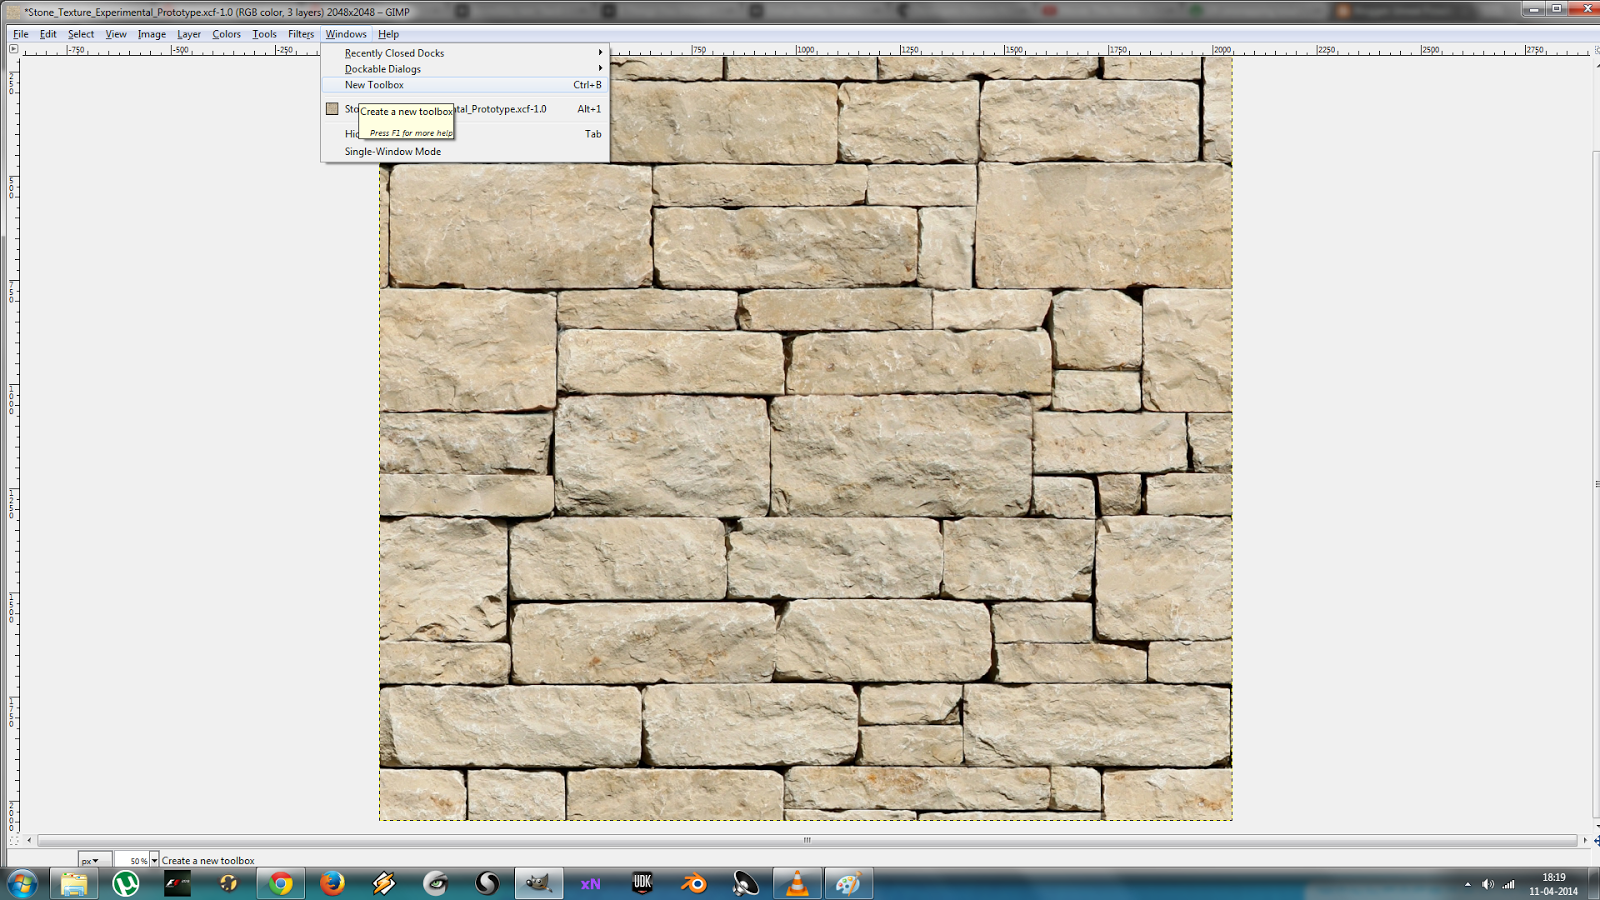
Now similarly open up the Height map as well as the A.O. map in GIMP as well. So basically there'll be three windows: one for diffuse, one for height map and one for A.O. map. What we need to do is to have all this in the same scene. But directly copying it into another will just put the second image on top of the first. So first go to the diffuse map window, in the menu bar, go to Windows menu and click on new ToolBox. So now you can see a basic Toolbox with all the different types of tools you can use in GIMP. Press M to select the Move tool.
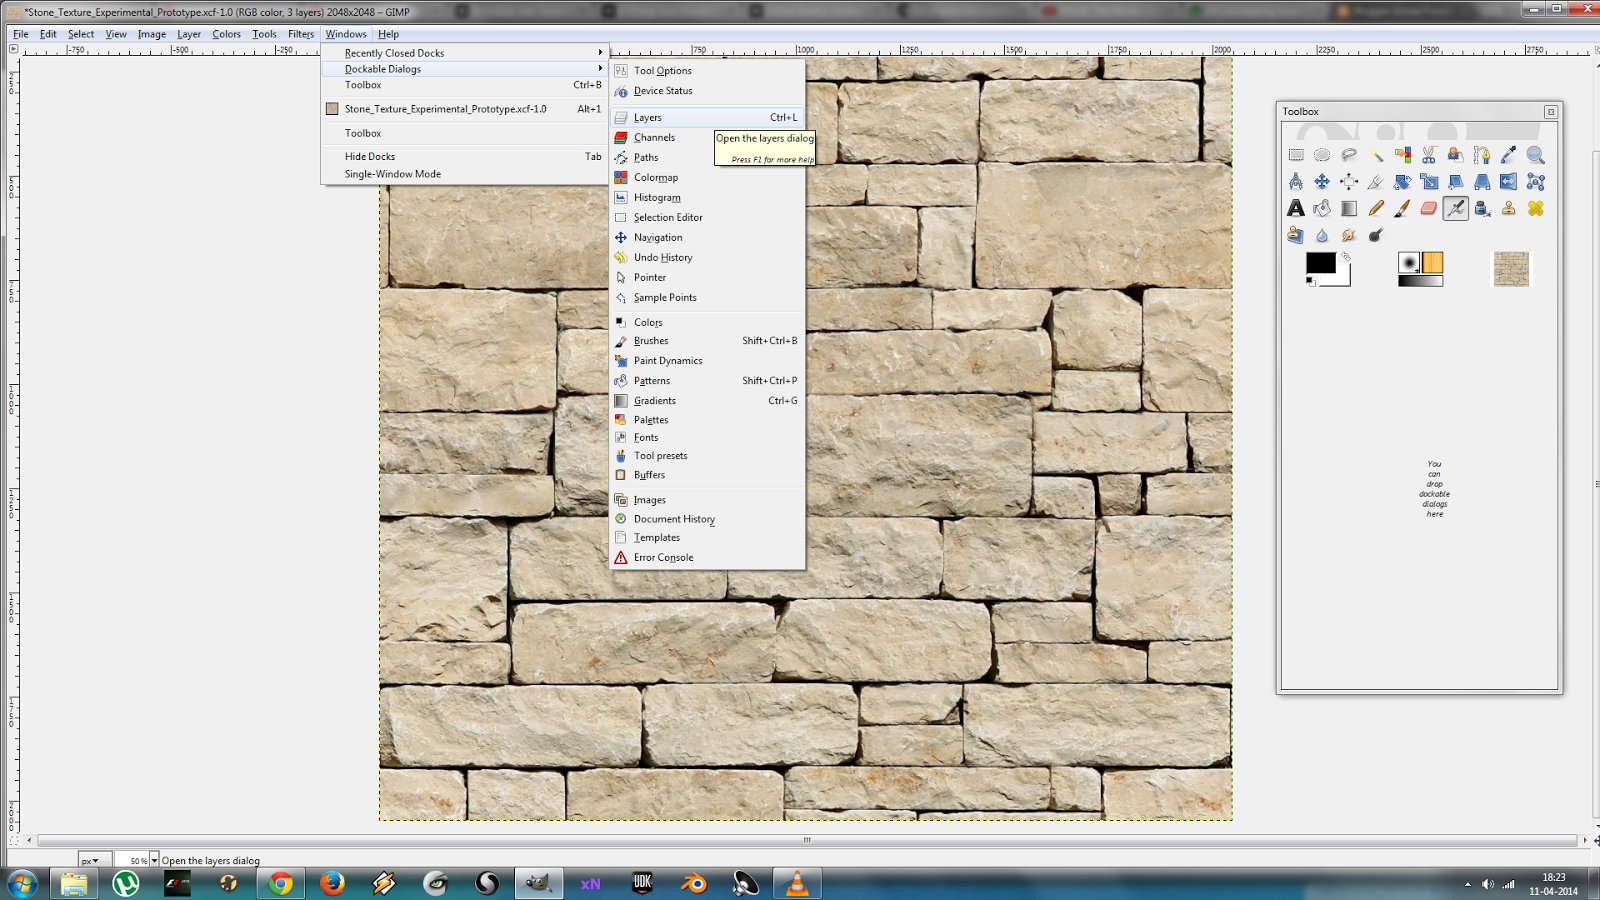
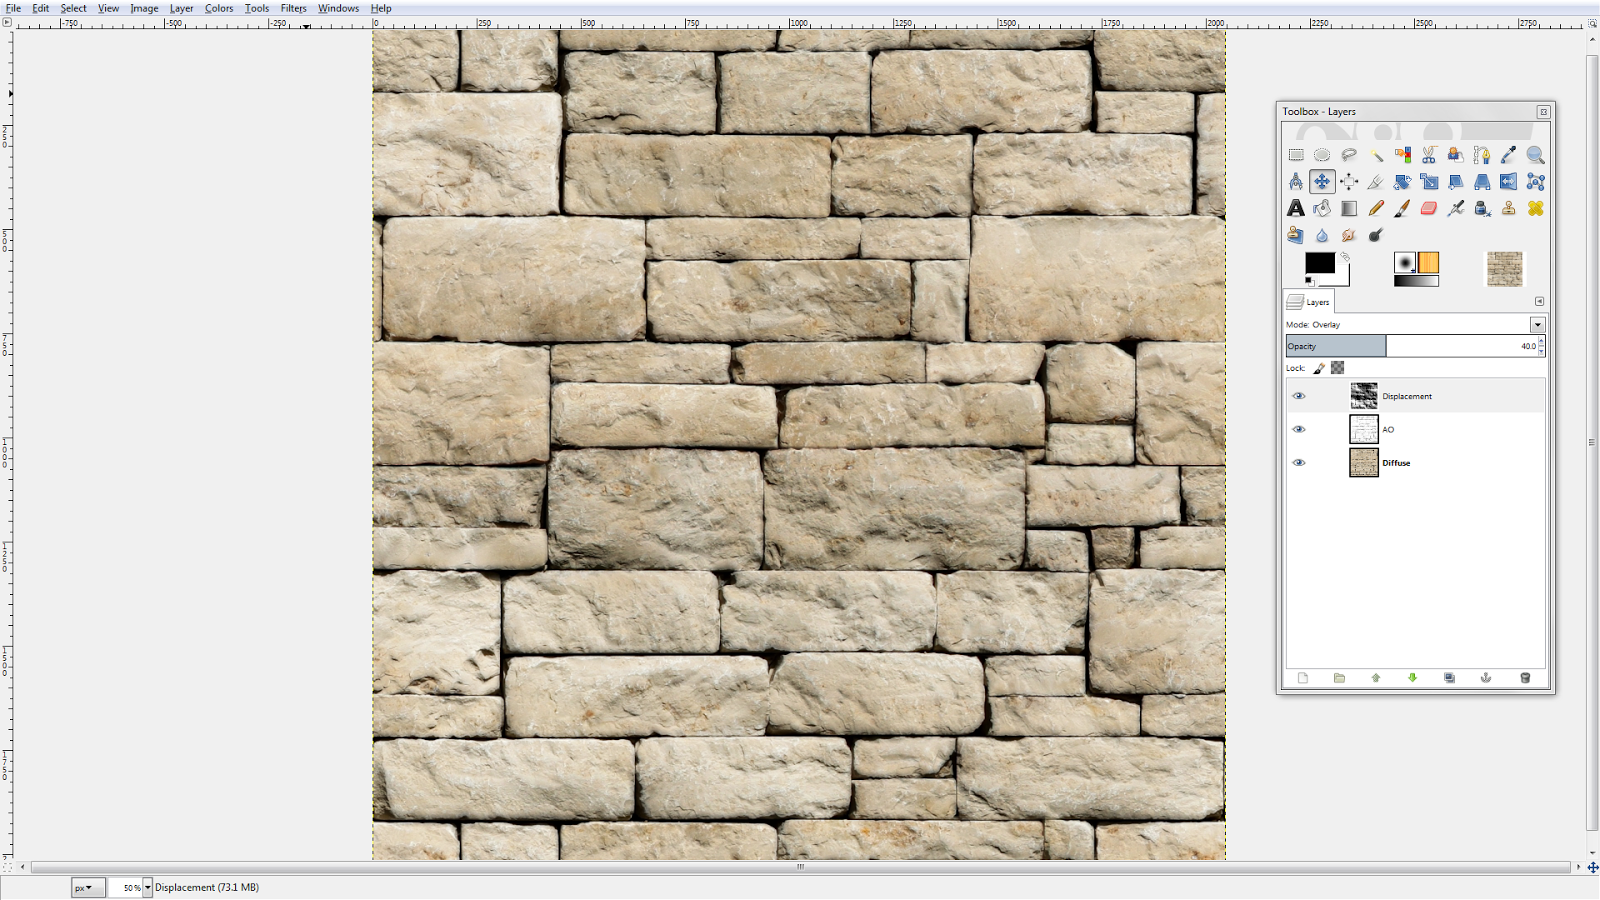
Now we need to add layers. Layers enable different textures to be merged together based on a set of factors like opacity and blend types. This way you can add more textures on top of the diffuse without losing it's detail. For that, a layers toolbar has to be added. This can be done by again going to the Windows menu >> Dockable Dialogues >> Layers. Simple Ctrl + L would suffice, but if you're a beginner like me, it helps to know where to find all the toolbars.
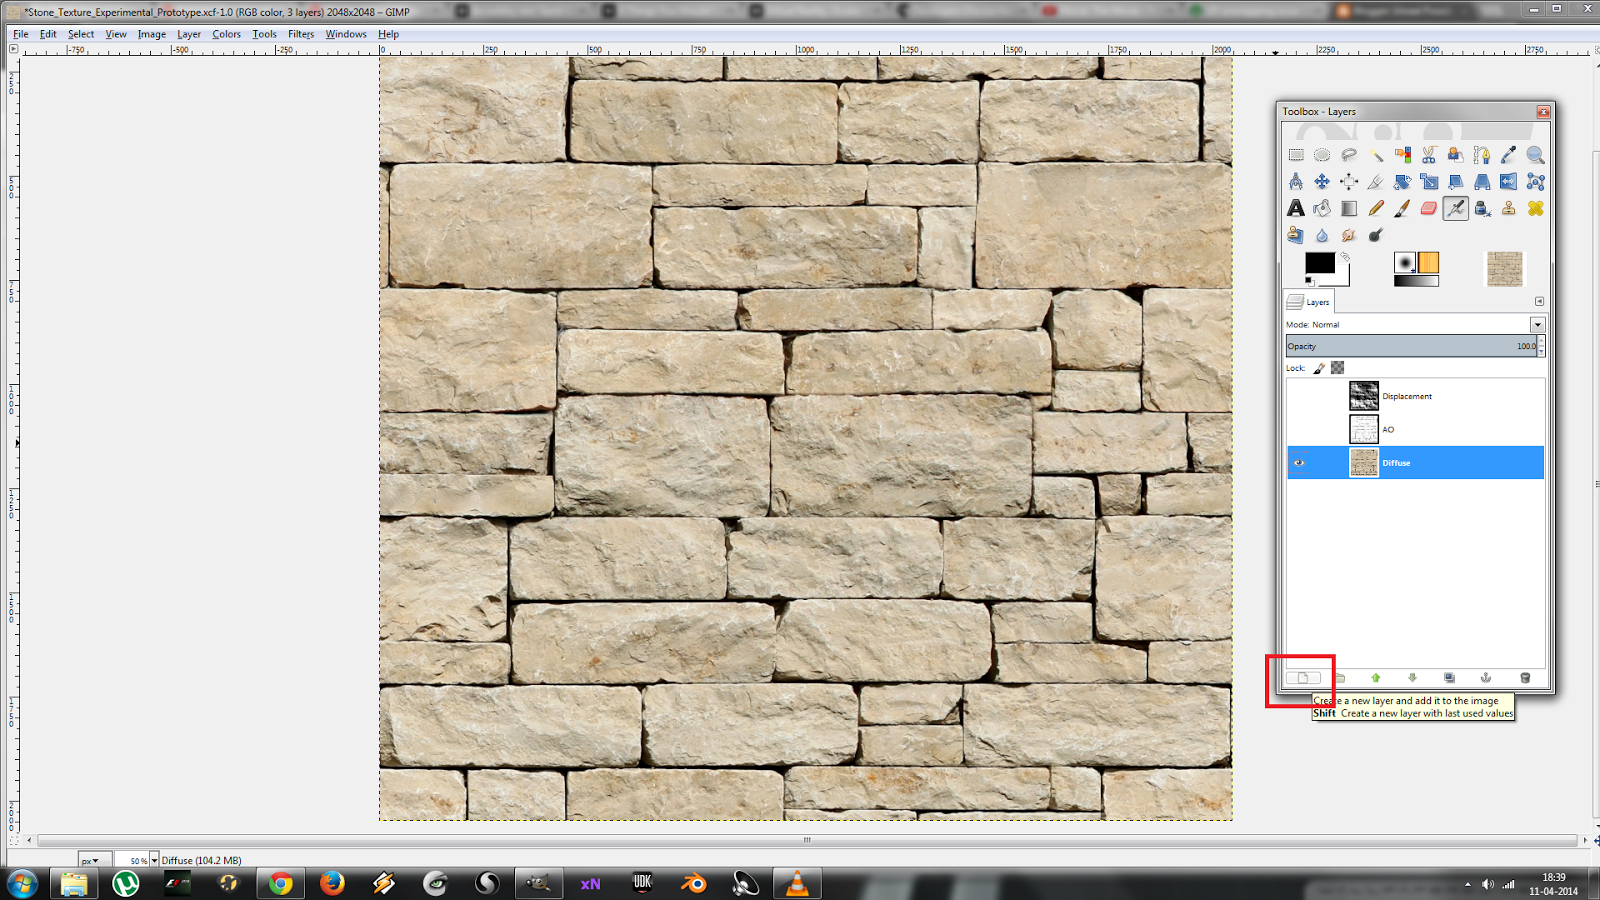
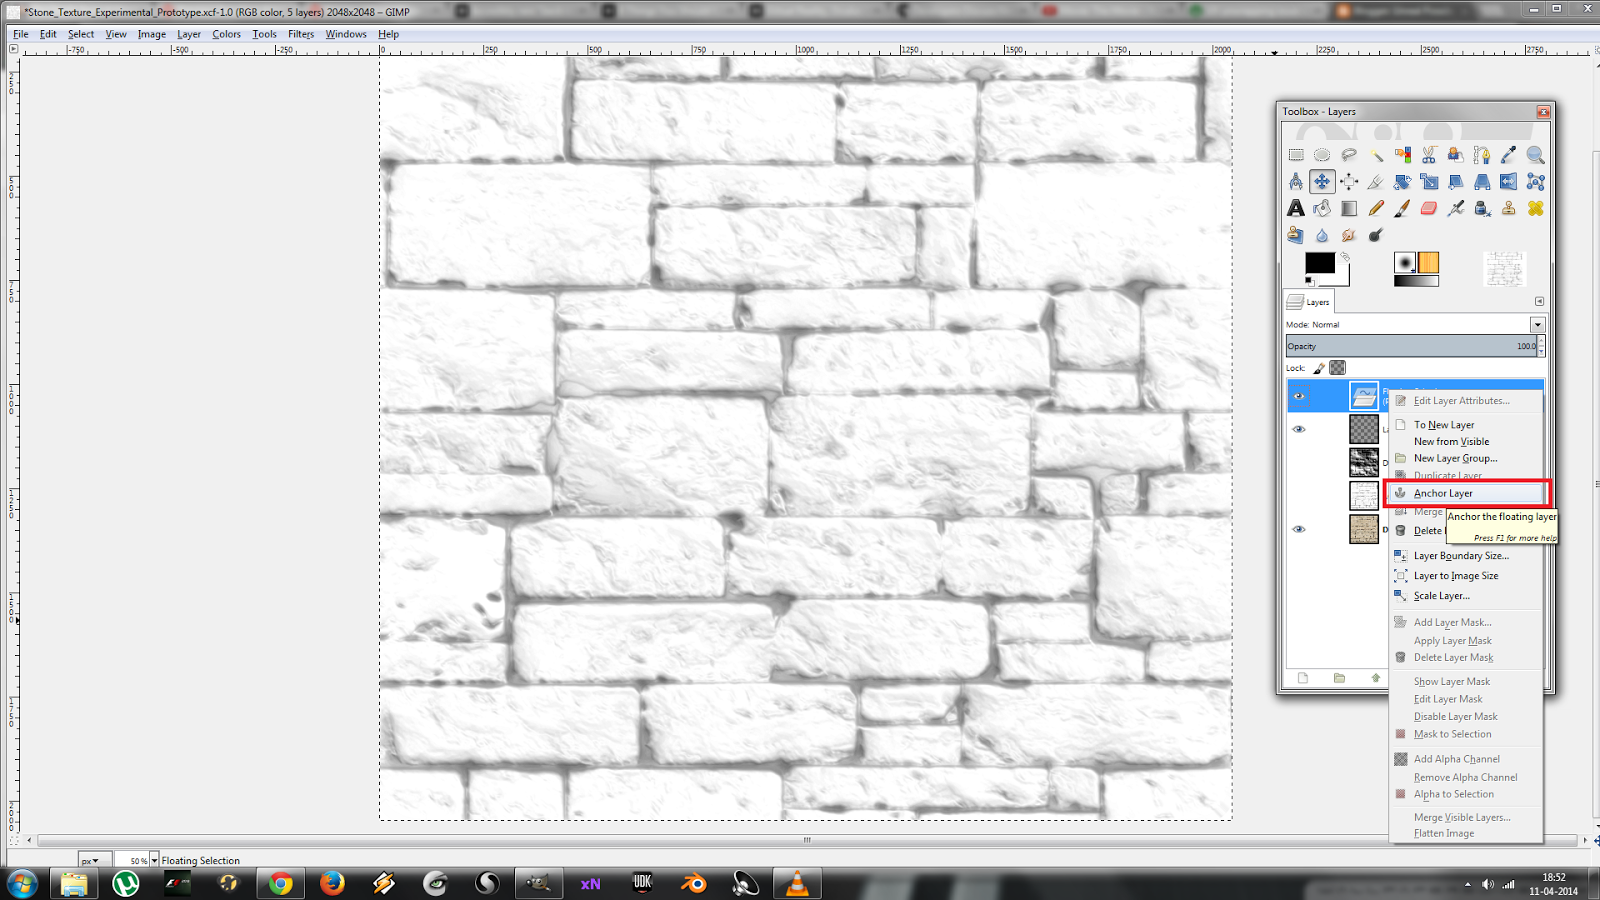
A pop-up window will appear. Give some name to the new layer and ensure that the resolution matches the resolution of the original image. Now go to the A.O. map window, press Ctrl + A to select the image and Ctrl + C to copy. Go back to the diffuse window, click on the second layer in the layer toolbar. Then click on the image and Ctrl + V to paste. As soon as you do this, a new floating layer gets added on the layer toolbar as well as a new image on top of the existing image. Now in order to merge these two images, right click on the floating layer in the layers toolbar, and click on Anchor Layer. It gets anchored to the new layer that you just added before.
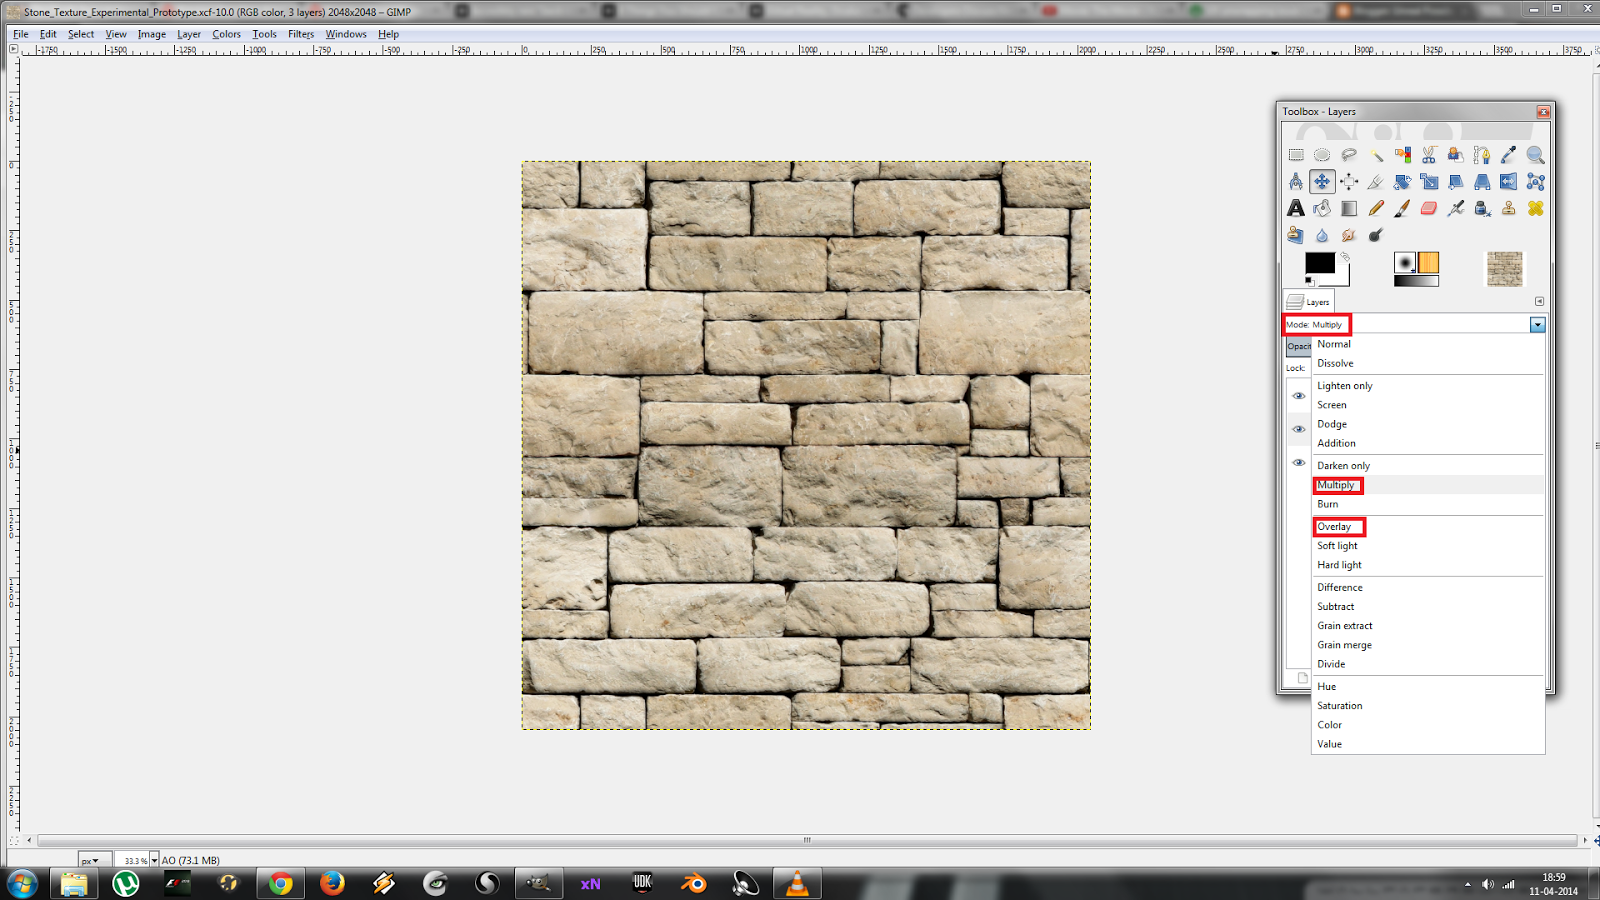
Now as you can notice, the original image is lost behind this current image. This is because the layer mode is set to normal. This can be seen in the mode option under the layers toolbar. Change it to Overlay or Multiply and you have that problem solved. Also try changing the opacity to see what fits your description. In my case, I set the mode to Multiply and an Opacity of 60.00 %.
So basically that's all you have to do inside GIMP. We need the normal map inside UDK, so no point in adding it here anyways. Just to show the difference between the original diffuse texture and the one we get after adding the A.O. and height maps, I will post the images below. You can see that the texture starts to develop more features as the other two are added to it.
Original Diffuse Texture
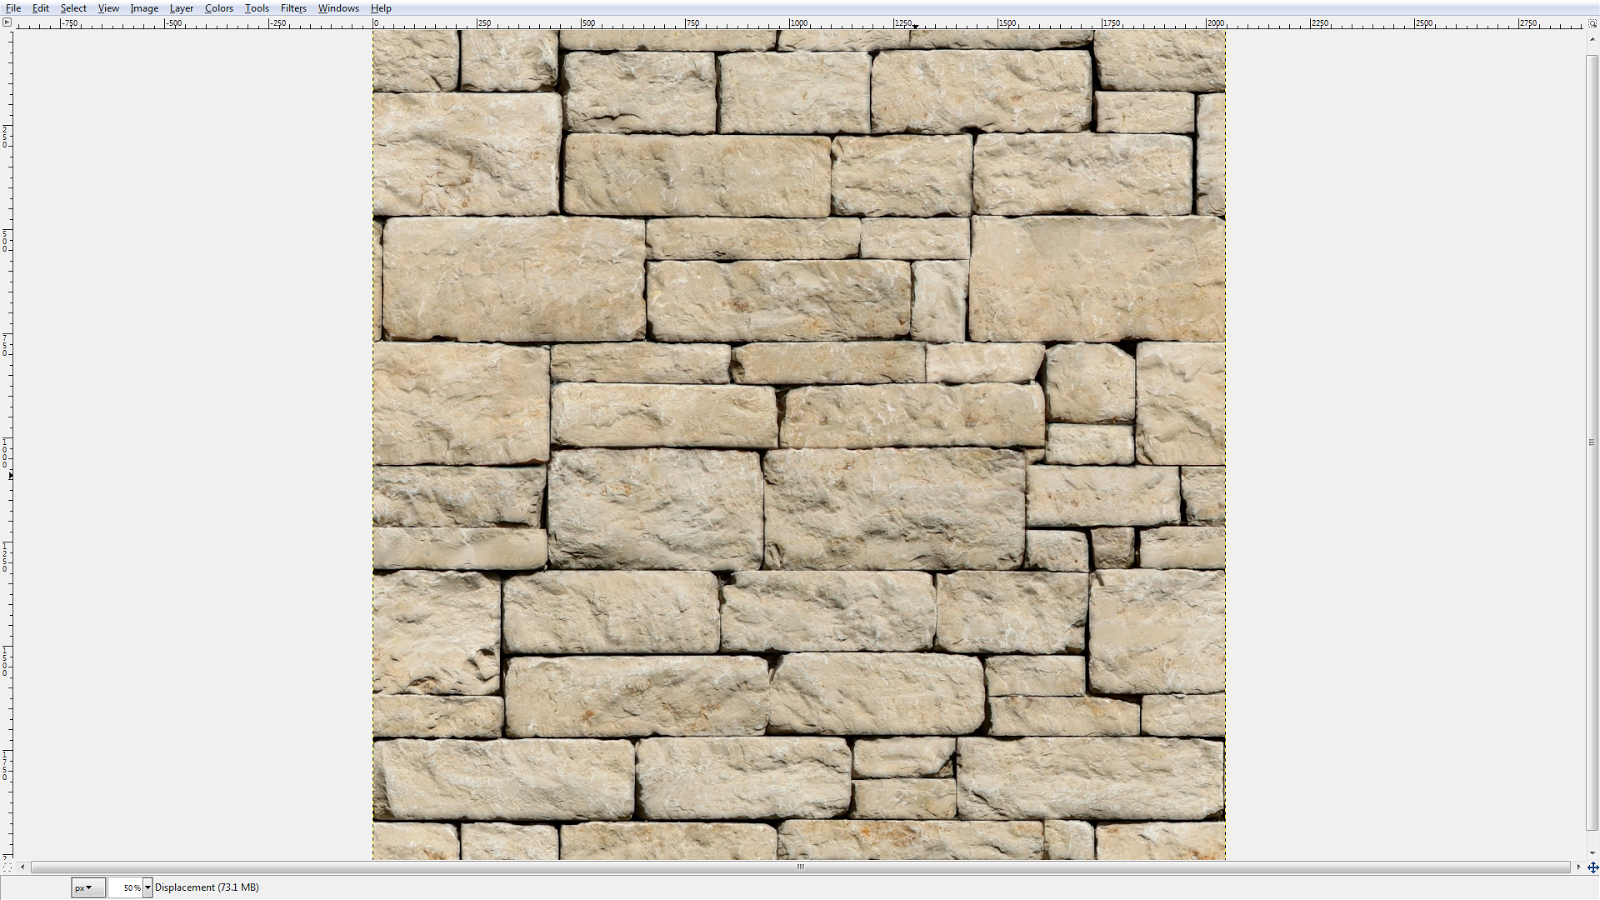
Diffuse + A.O.
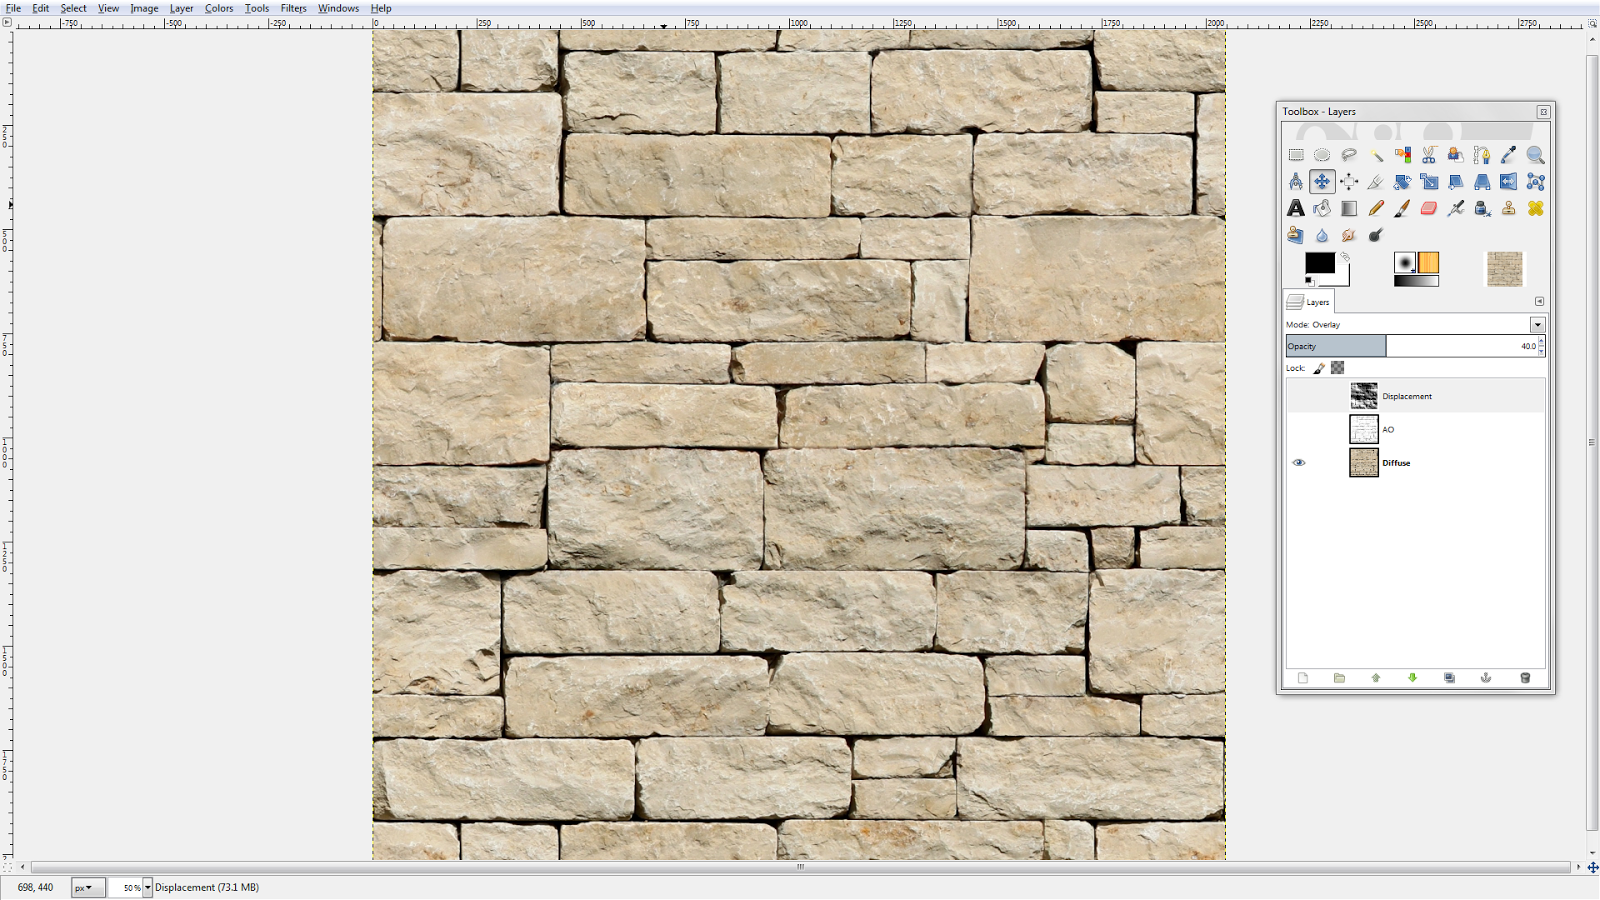
Diffuse + A.O. + Height Map
From the last image, it can be seen that the various features ranging from the small slopes along the bricks to the gaps in-between them are more visible now. After checking in UDK, I then reduced all the images from 2048x2048 to 1024x1024 as it hardly made any difference in-game. But the memory footprint can be reduced by a pretty good amount by doing so. Also you need to make sure that the textures are in power of 2 resolution before importing it into UDK. UDK also doesn't accept all image types, so I use PNG format for all my textures. Now that we have a game-ready texture available, it can be added to the UDK for use in the game. I'll have that in a different post. Lots of images to load in a single page already. So goodbye till then.
