Sorry for the long silence!
On a personal note, I ended up injuring my spine, as well as getting bronchitis and getting pretty laid out for a while, I even ended up going to the Emergency Room since I couldn't breathe! Always thinking about VTM:B Remix, I literally took reference pictures while I was there, I figured they'd be useful when redoing the Santa Monica clinic + bloodbank.
Anyway I have been doing physical therapy and I'm on the other side of the illness, so I should be able to get back at this in full force soon!
WARNING! THIS IS A LONG POST! Feel free to skim, I won't be offended!
Phase 1 Done!
I wanted to talk a bit today about the next phase of the proof of concept. Systematically replacing the models is... DONE! At least for the immediate apartments, the haven itself + all the hallways and surrounding apartments should have all their models replaced. I have not hit any of the models that appear out the window on the street, but you know that will happen someday soon...
Phase 2 Begins
While I've already done a few early tests for environmental texture replacement with the PBR material approach. It's time to actually hit this phase hard. That means working in Blender, Substance Designer, and Toolbag4.
The Approach:
There are a few ways to handle creating environmental textures, I'll be using a few different techniques to tackle this. From making them from scratch in Substance Designer to adapting a modeling approach that let's me rapidly build out and bake down to then finish in Toolbag4/Painter.
Just like modeling a prop, I can take old textures and model over them, using them as a high poly to bake down to a flat plane. I'm much faster at this than doing a height map workflow with shapes in Substance Designer so it's the one I'll be leaning on more often.
Here's an example of the red cabinets found in the apartments:
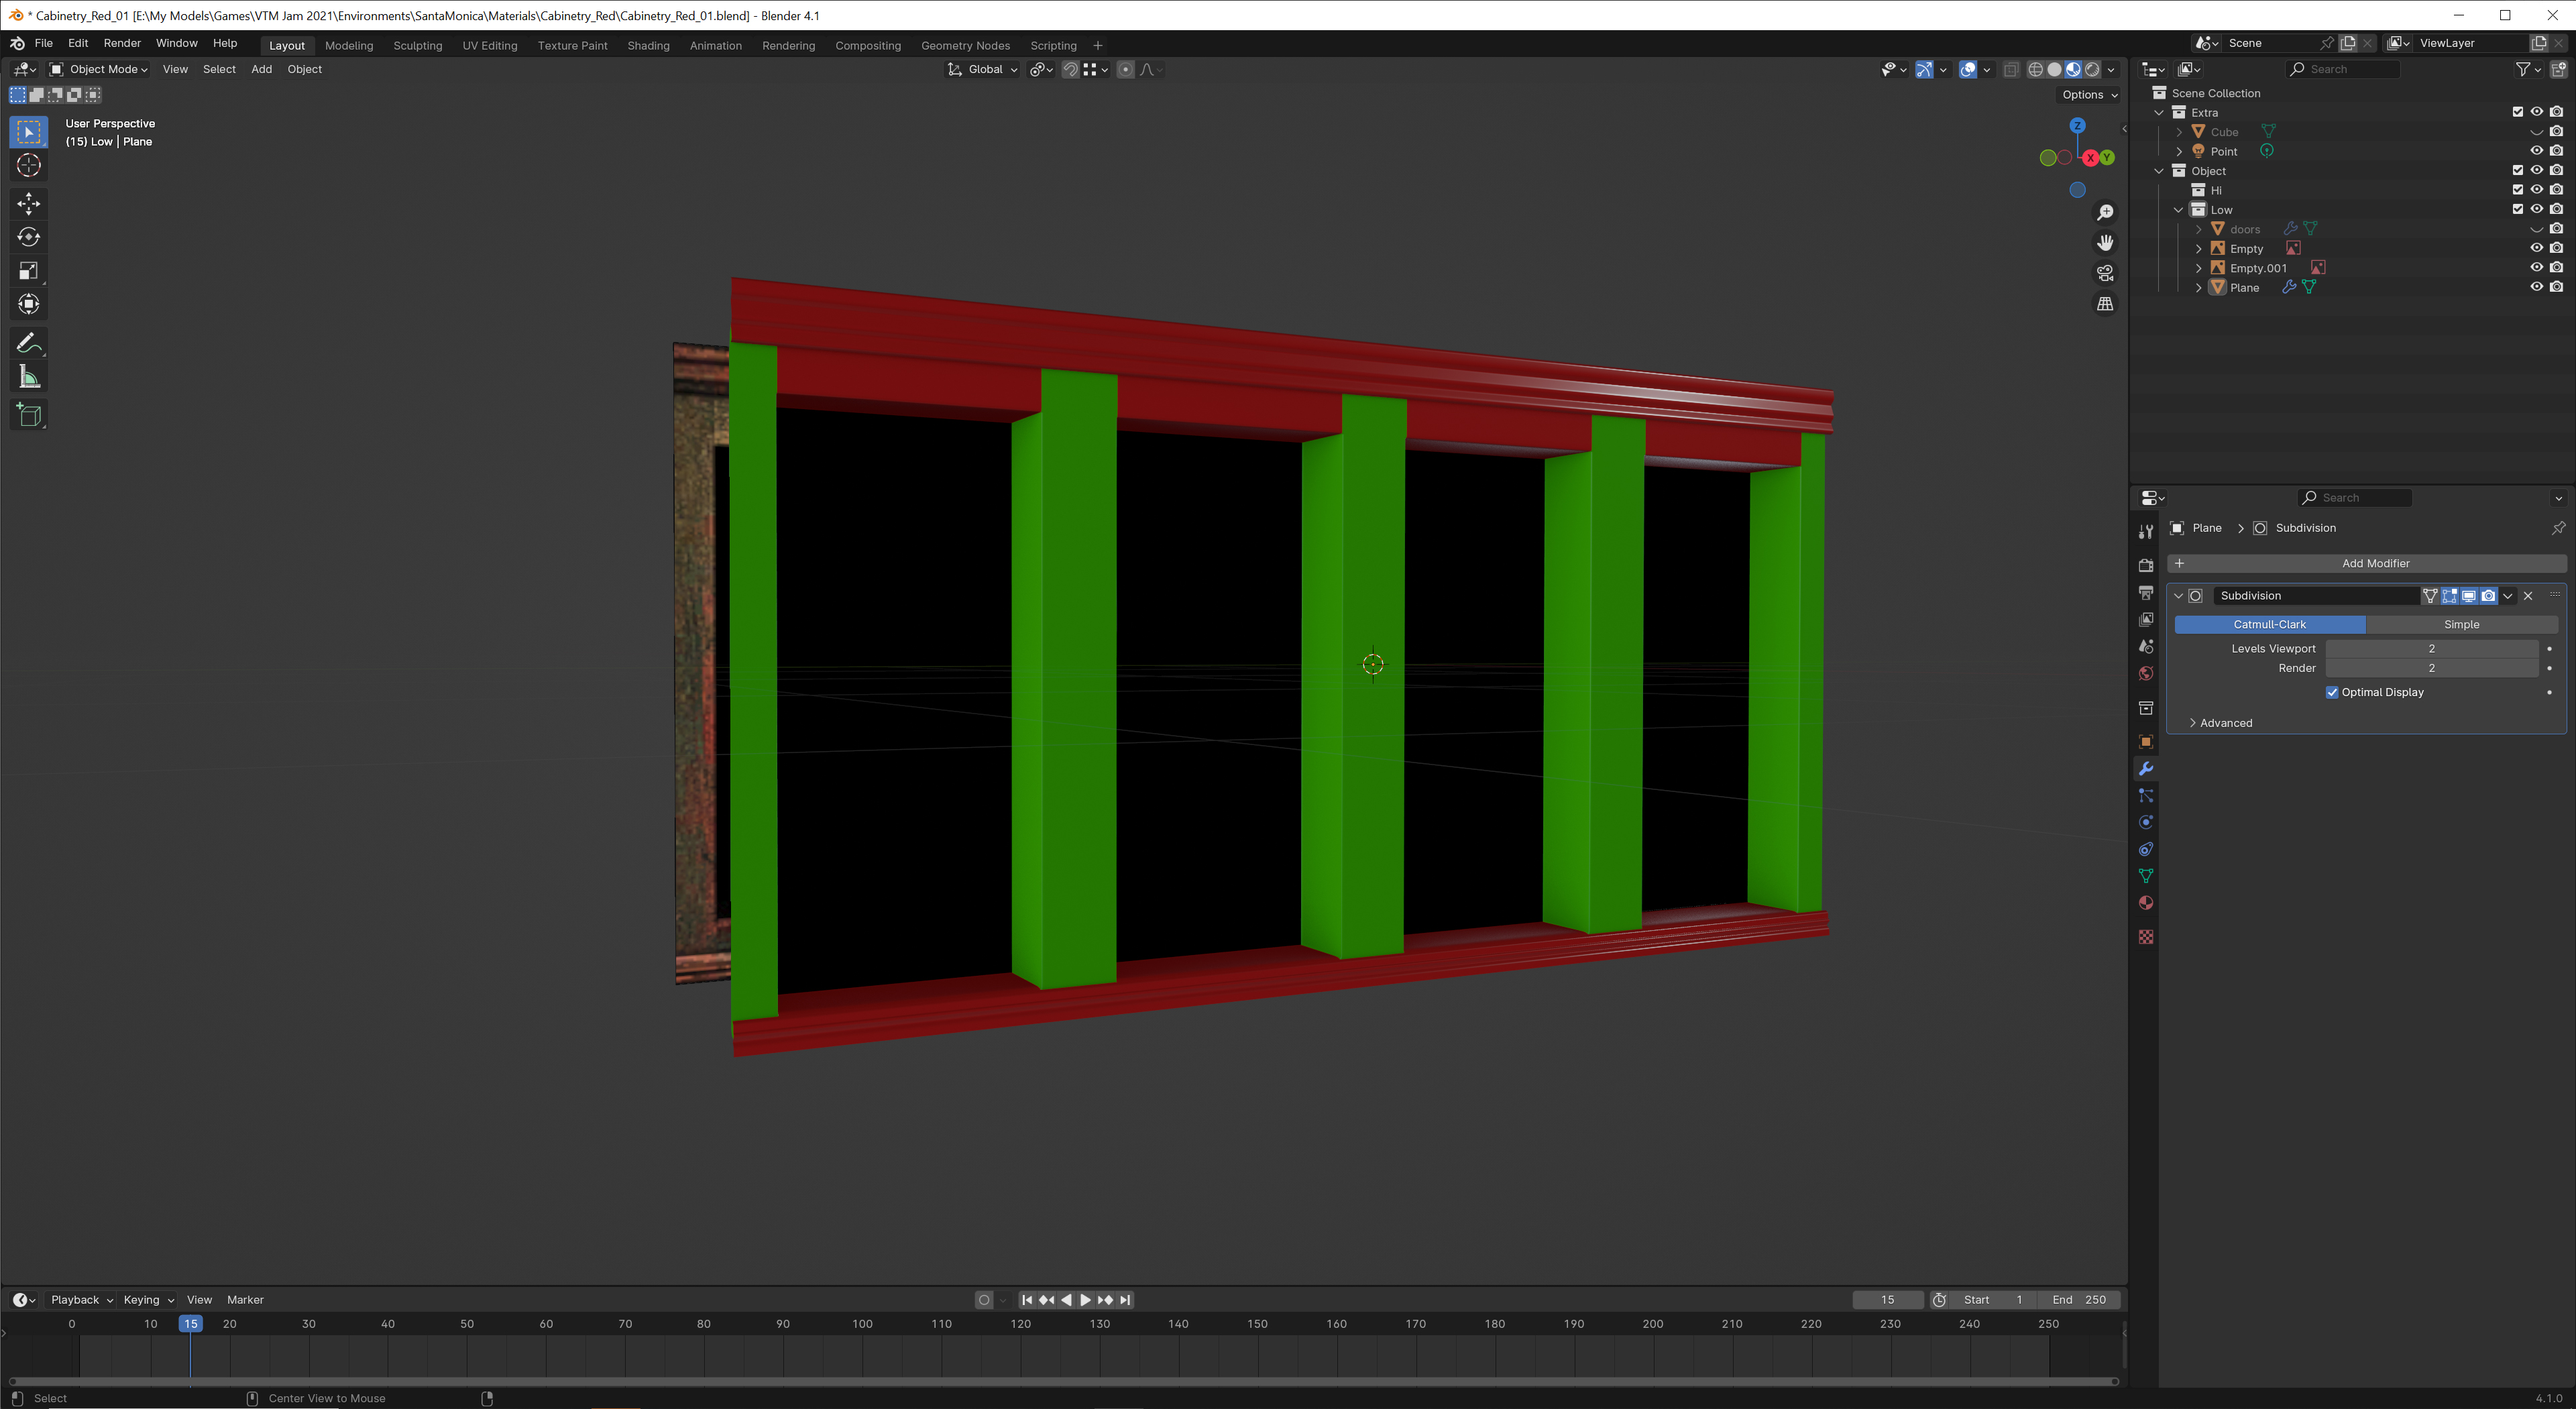
We start by bringing in the old texture as a reference image. It's aspect ratio should be perfect if we do it this way.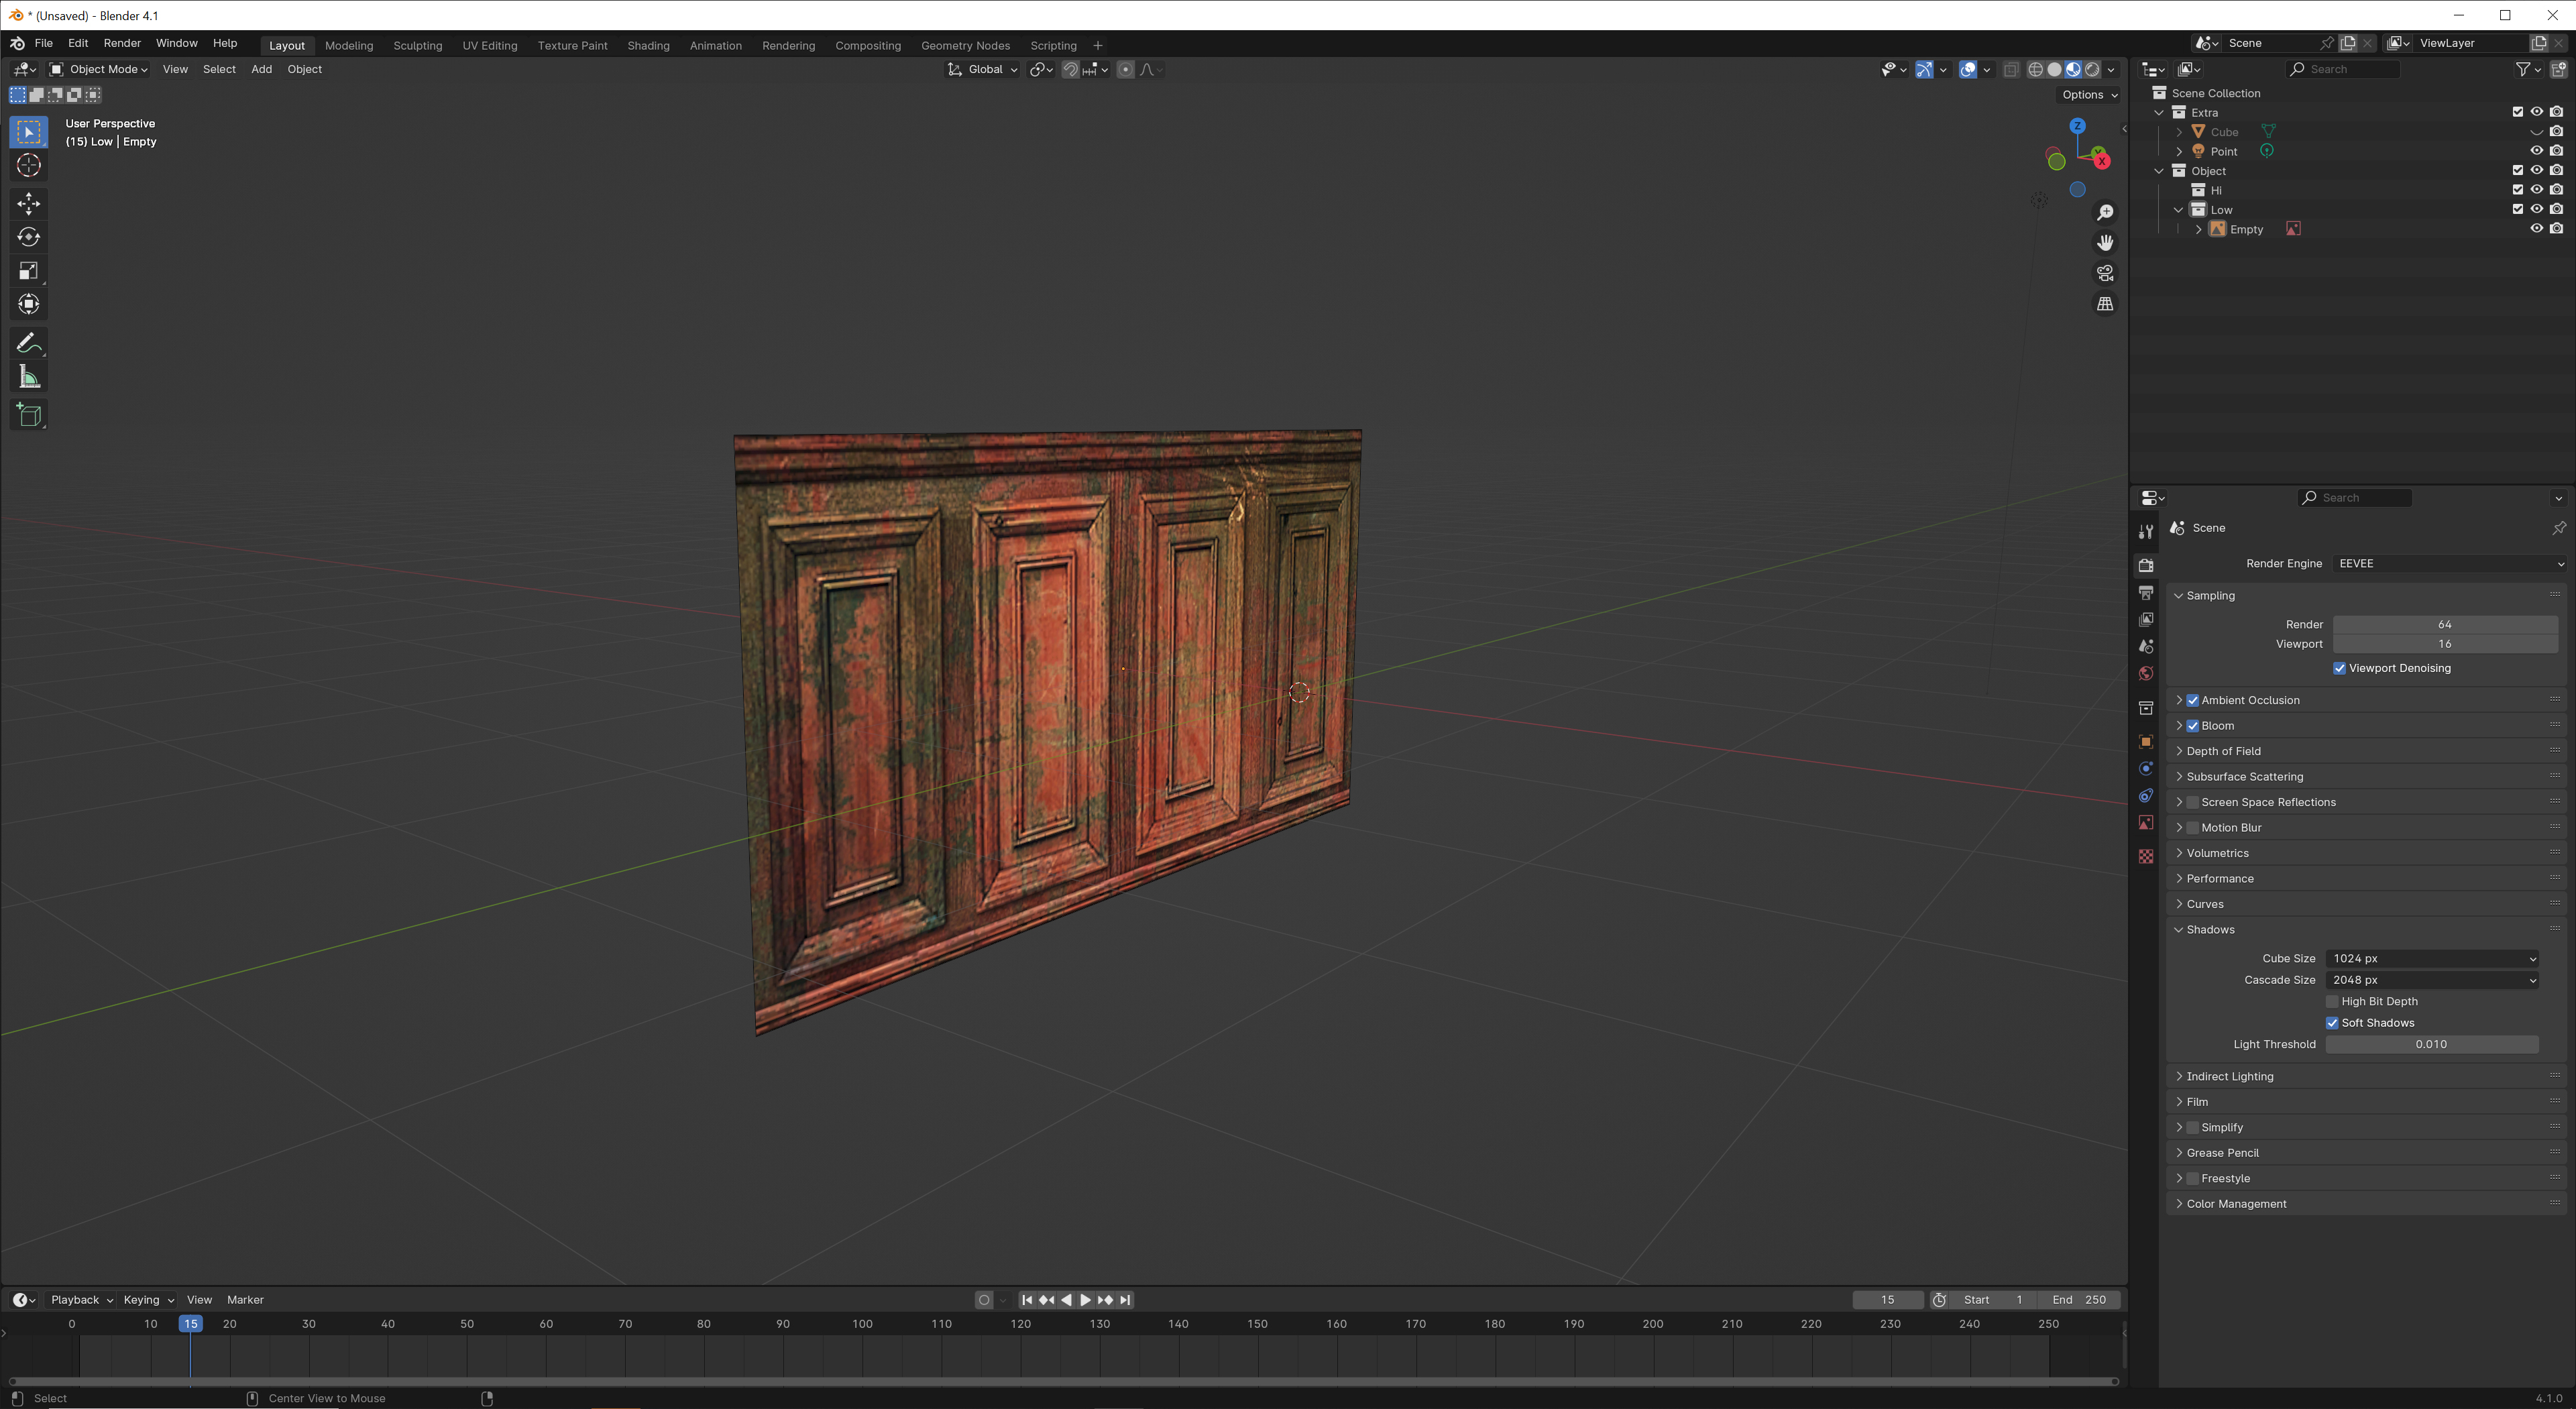
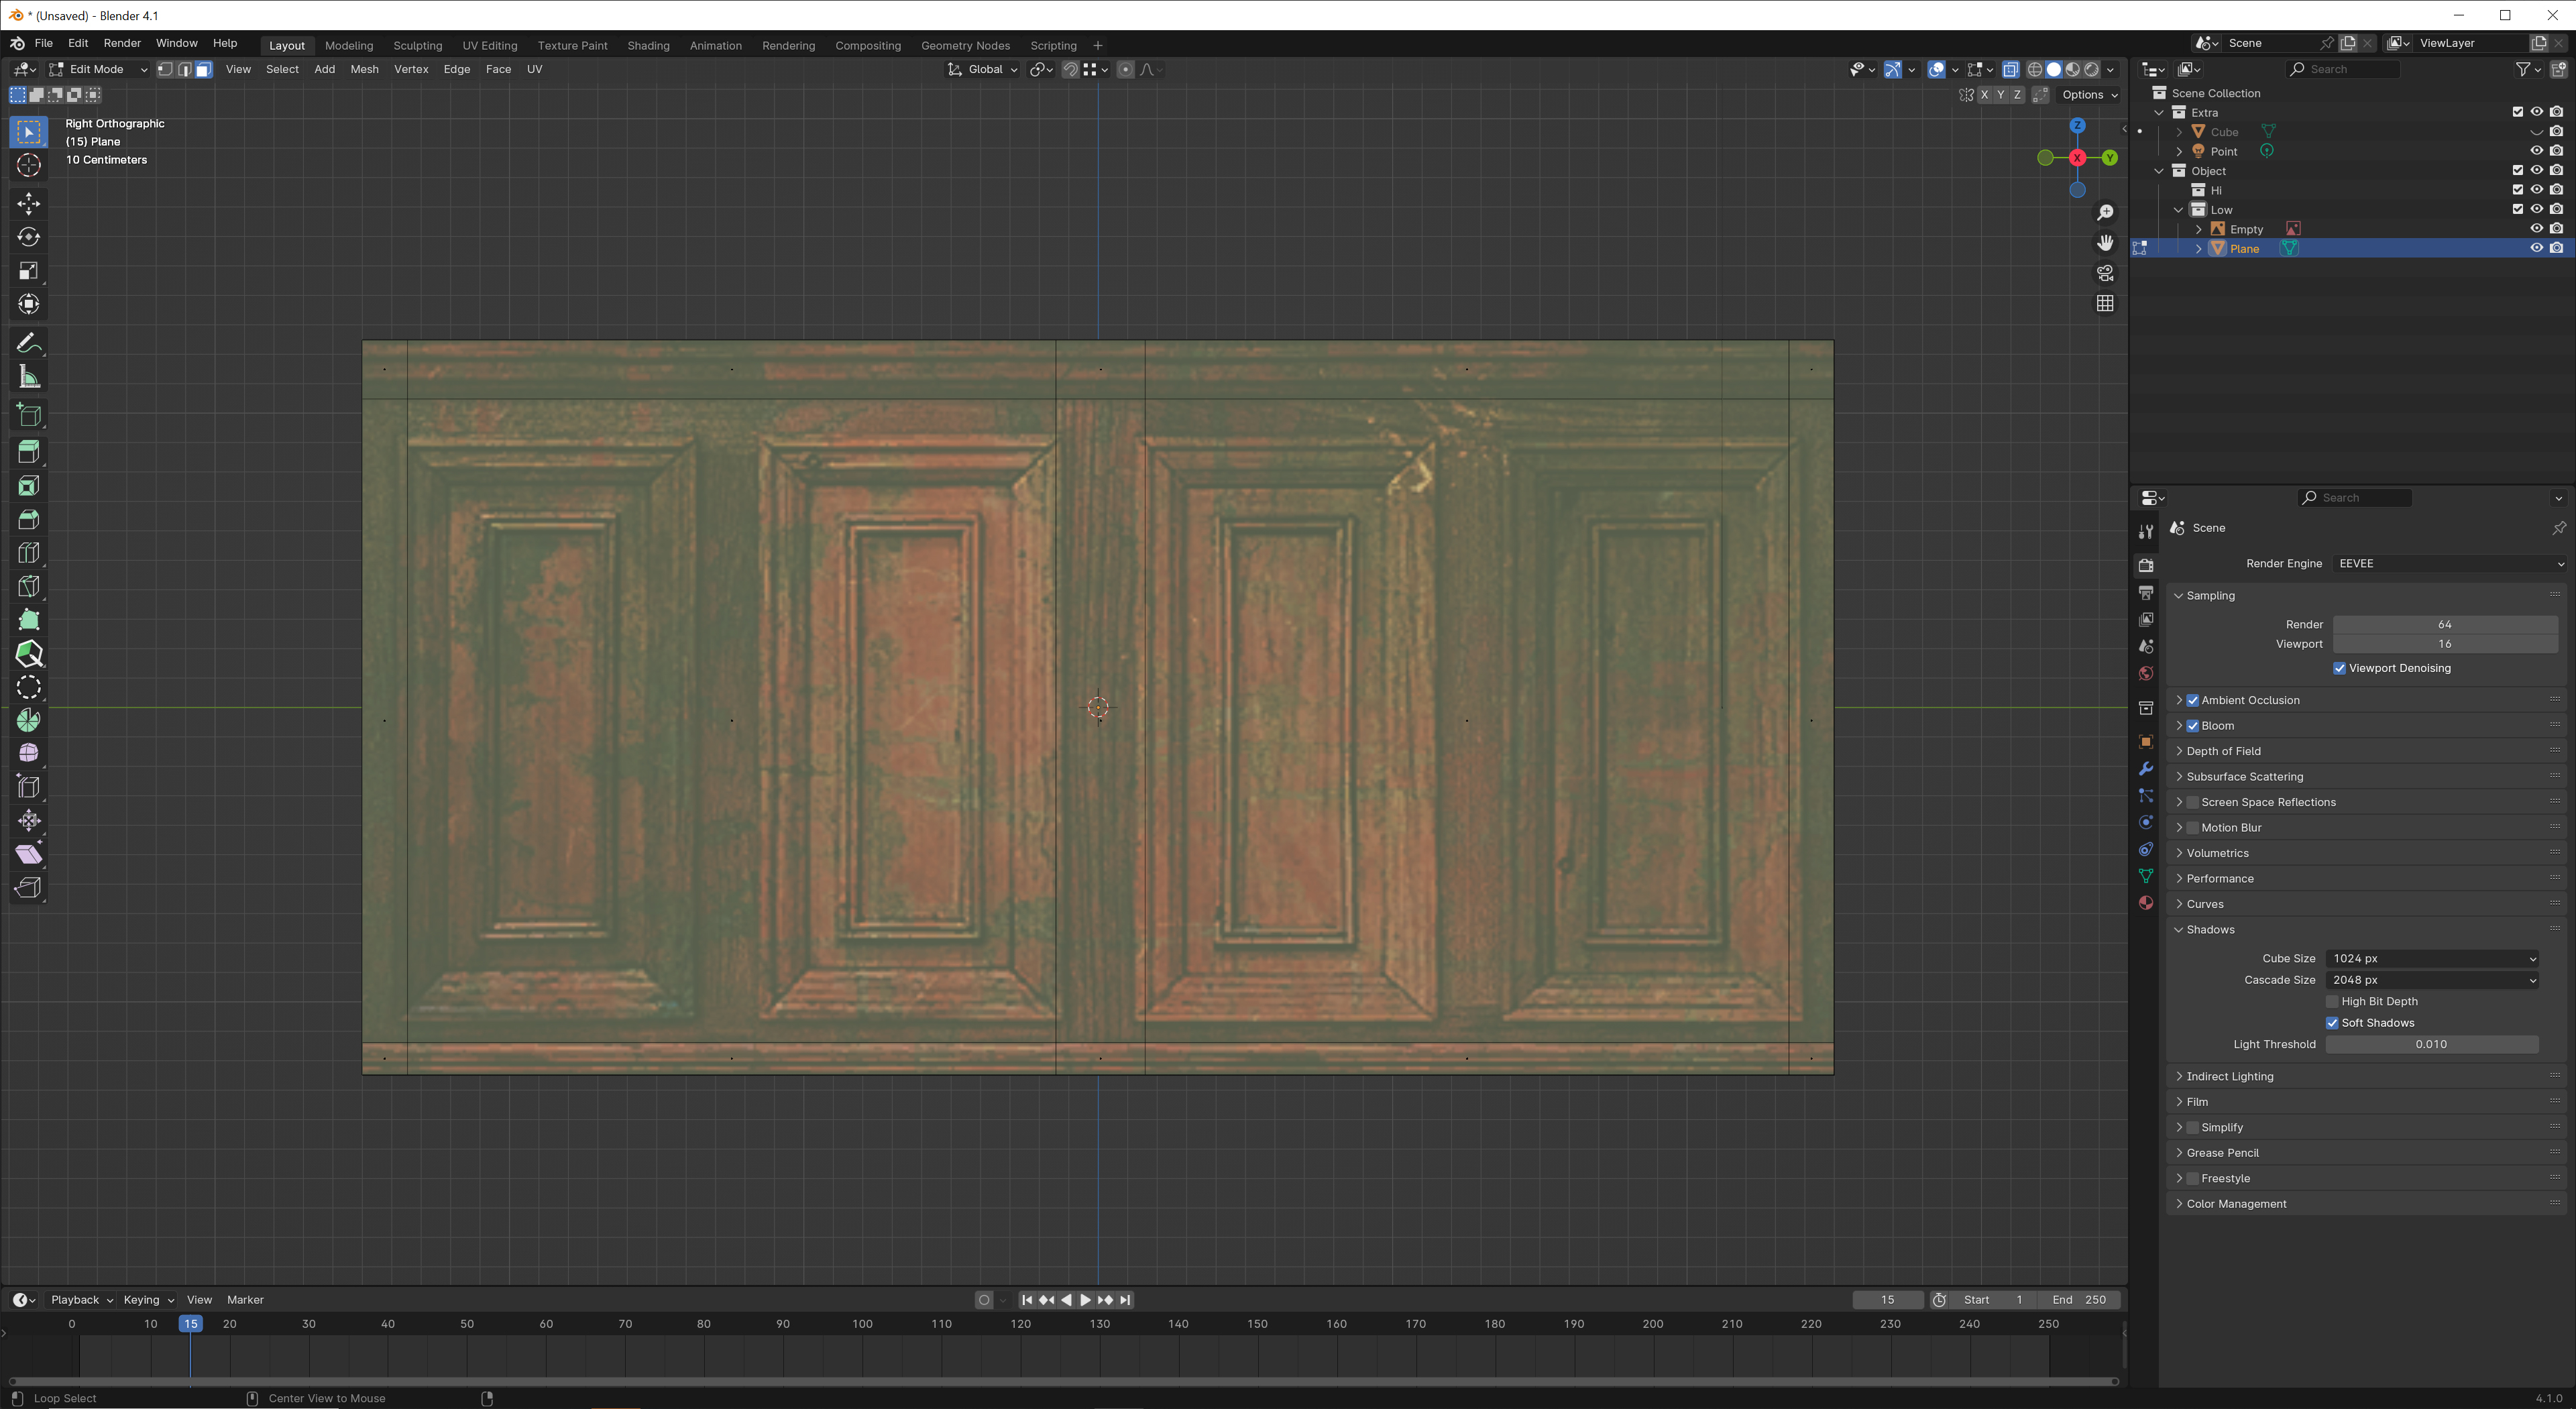
We then start blocking it in. It's fairly easy in this case to follow the guides, these are pretty straightforward shapes.
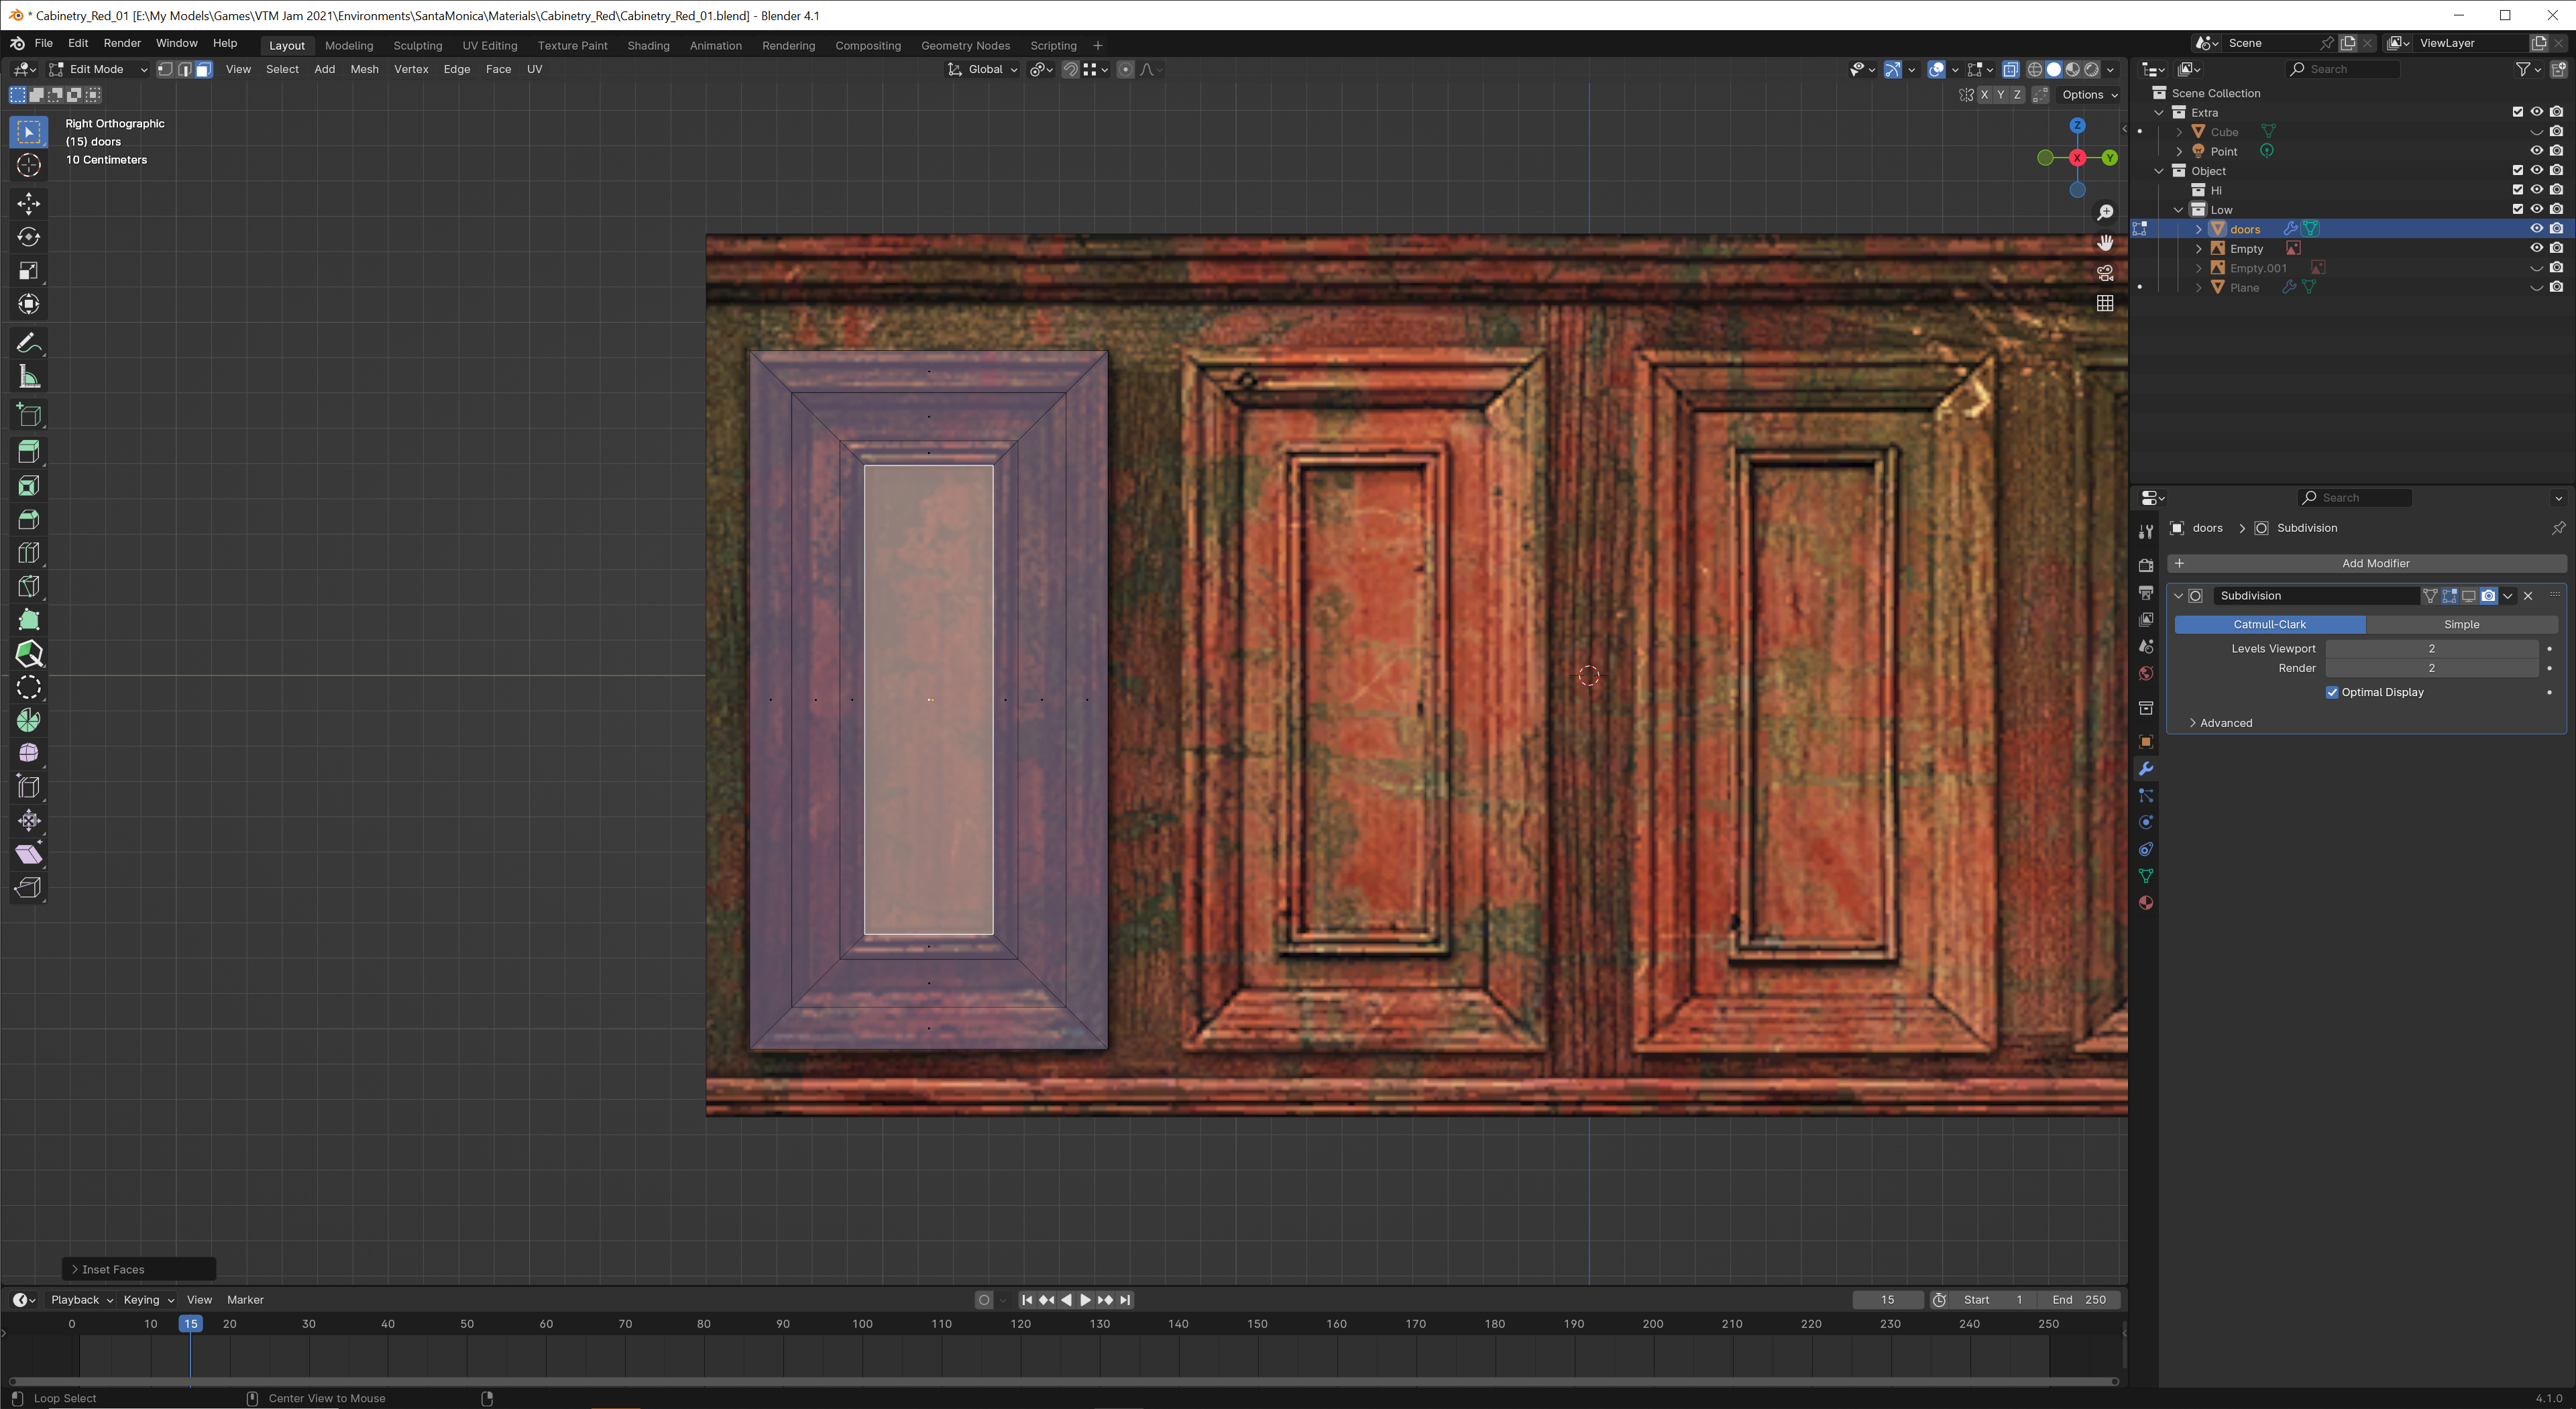
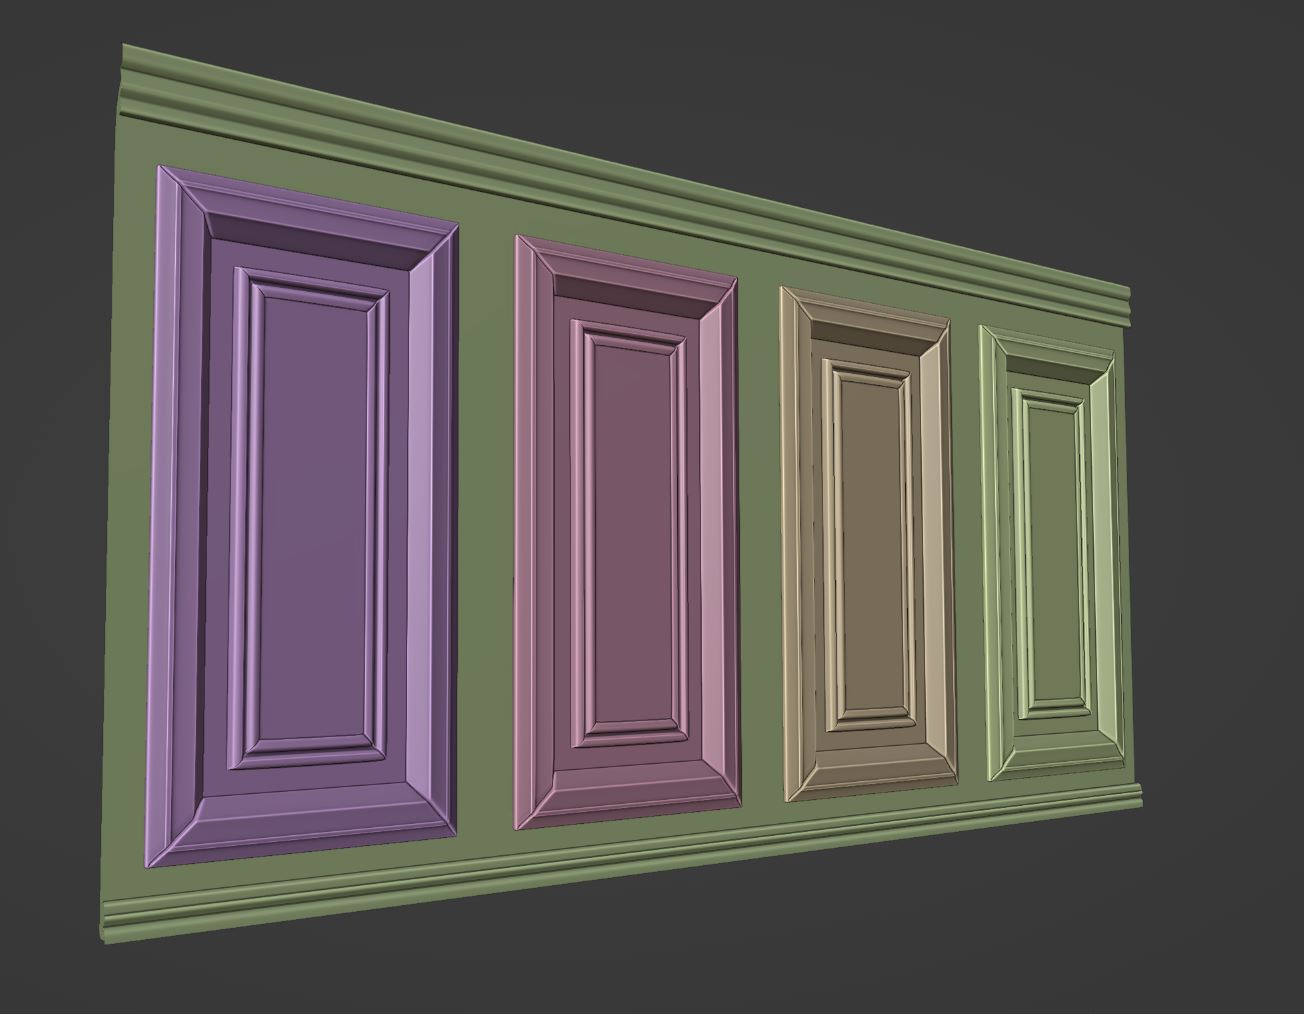
Just like with a prop model, I'll make sure the high poly has materials assigned for the various needs. I use different material IDs for the same wood because I know I want horizontal AND vertical boards. I also have a material ID for the center panel and the 'void' for the other texture variant.
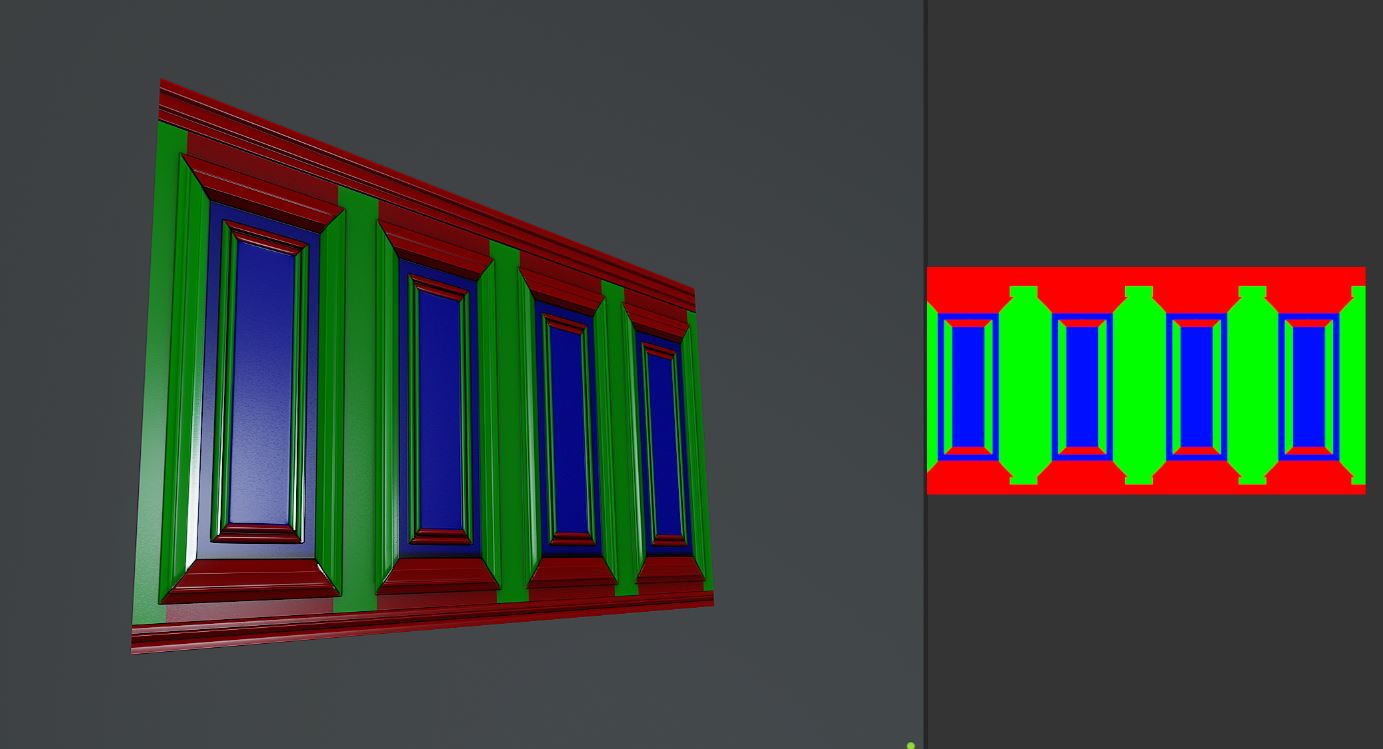
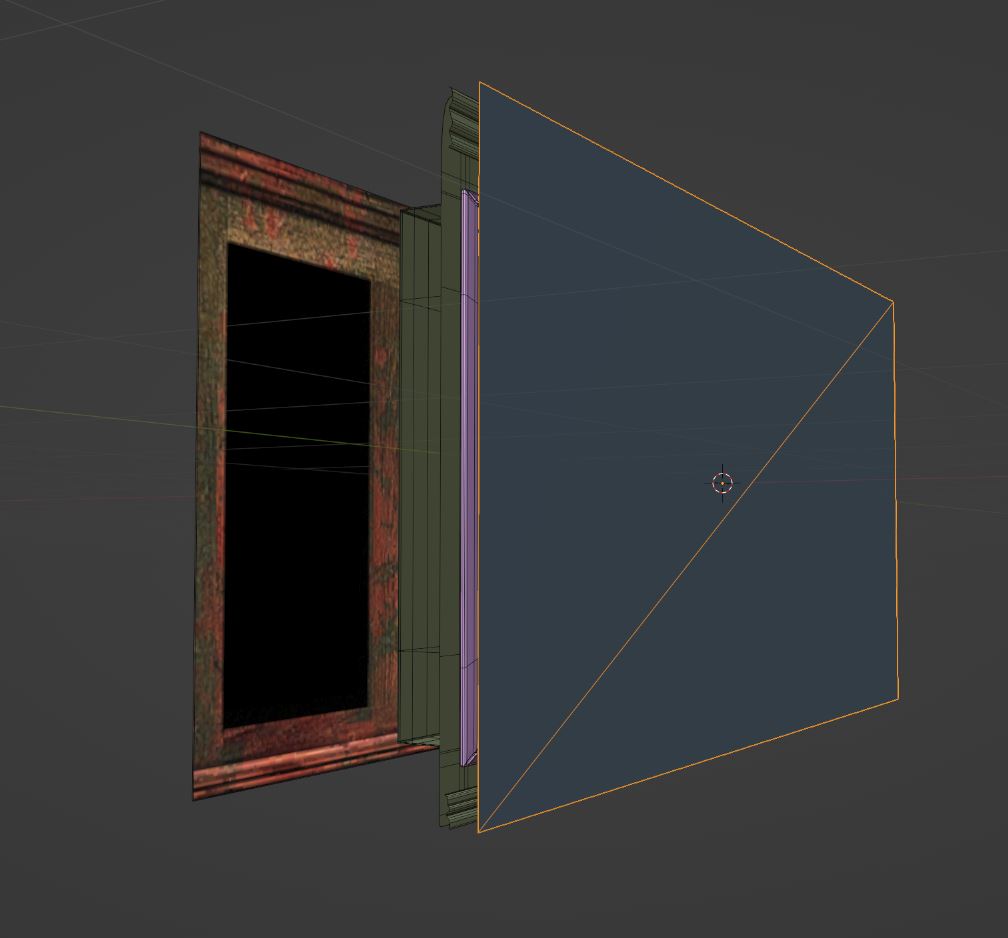
After that, the low poly is extremely simple! Since we can't replace any actual geometry for BSP brushes without doing it in Hammer Editor, all we need to do is upgrade the texture, so we just bake to a plane with the same dimensions. That's it, just a plane.
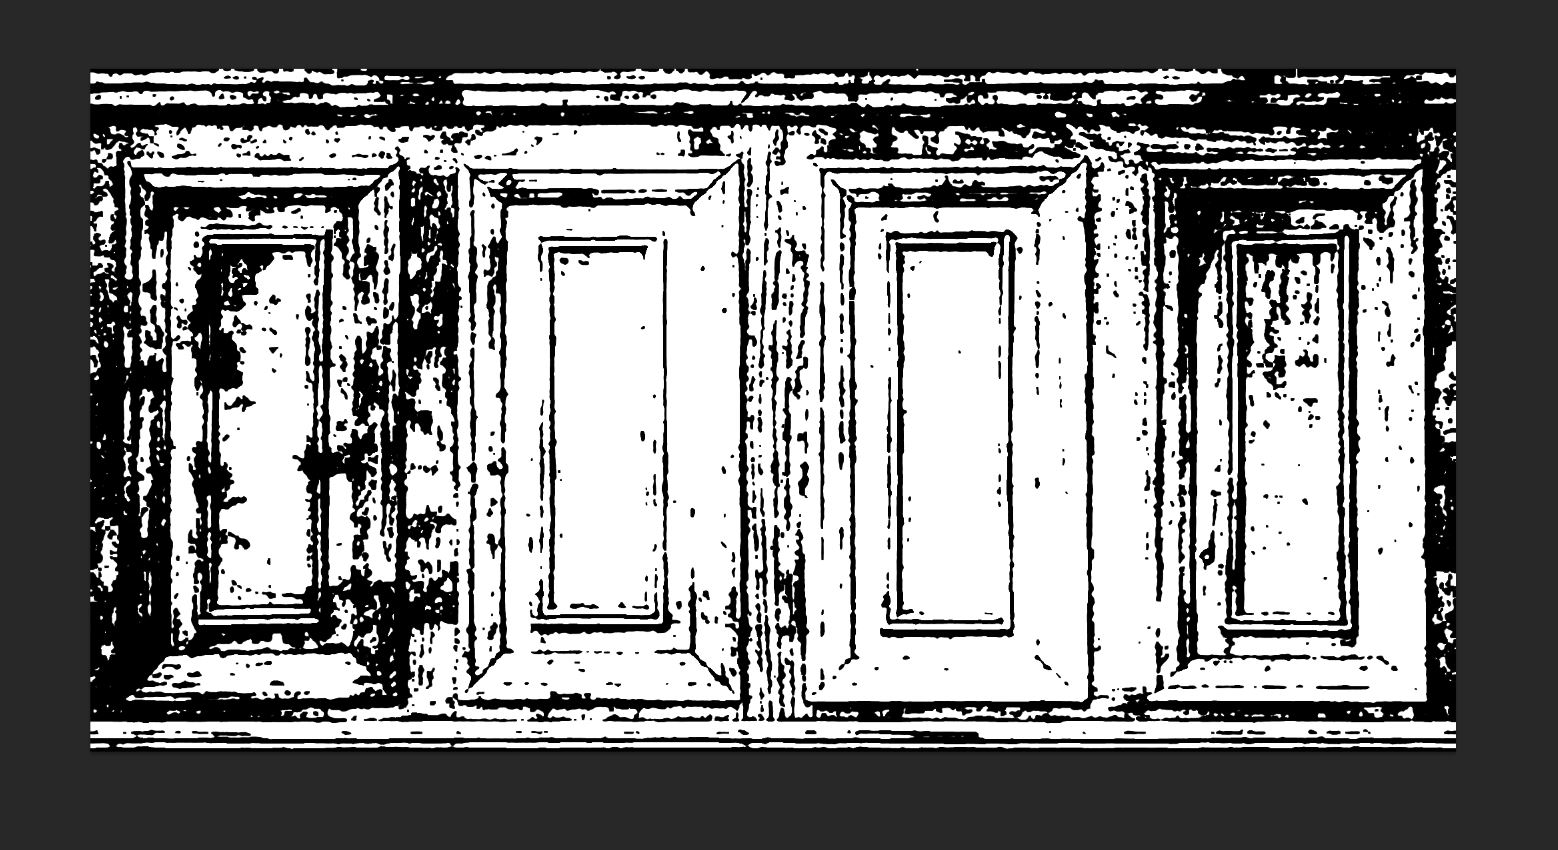
From there we start texturing like normal. I really want to capture the wear and tear patterns from the original texture, so I'm going to make a mask from it. I make it look horrible for a bit by increasing the contrast, I then use that to create a selection, storing that as a white and black mask. I can invert the mask at any time so this is just preference as to what black and white represent, I just need the stark contrast.
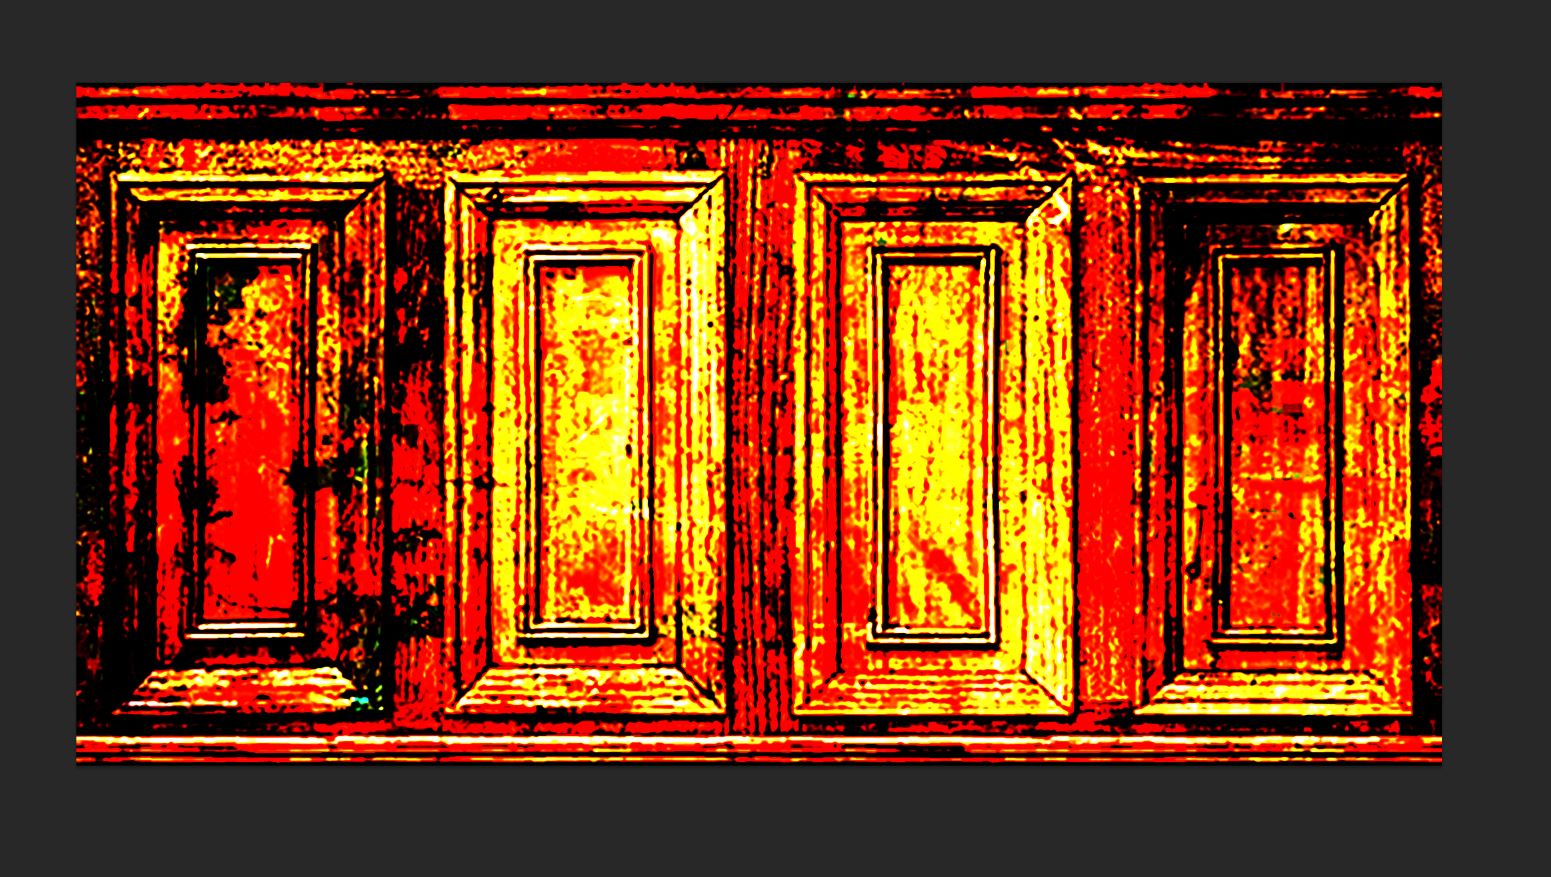
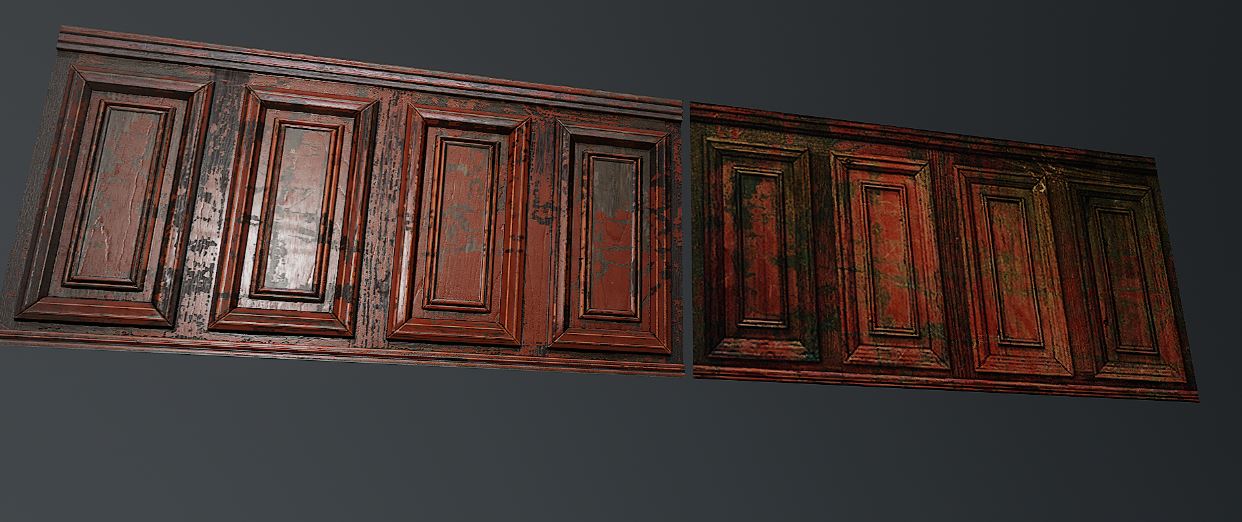
I bring the mask in and apply it to my layers, using it to mask out the paint and reveal a more worn wood layer underneath.
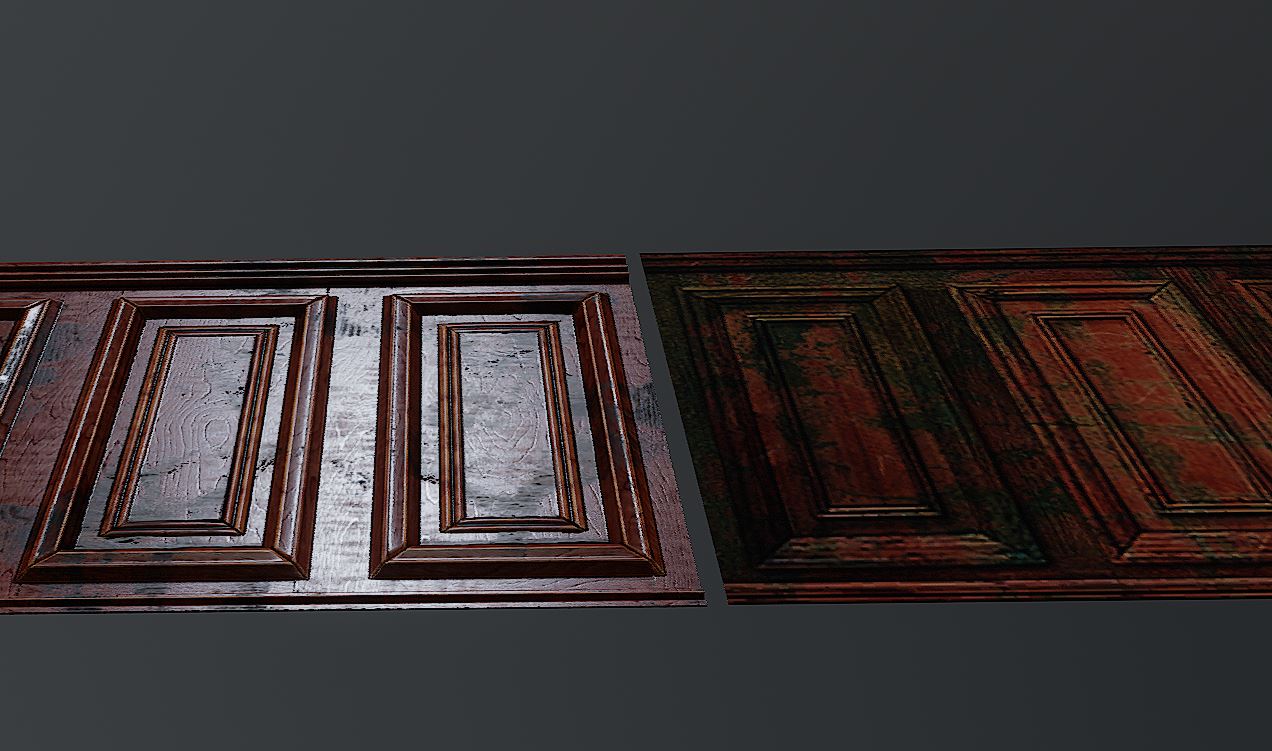
Here's a shot from Toolbag4.
And Let's take a look in game:
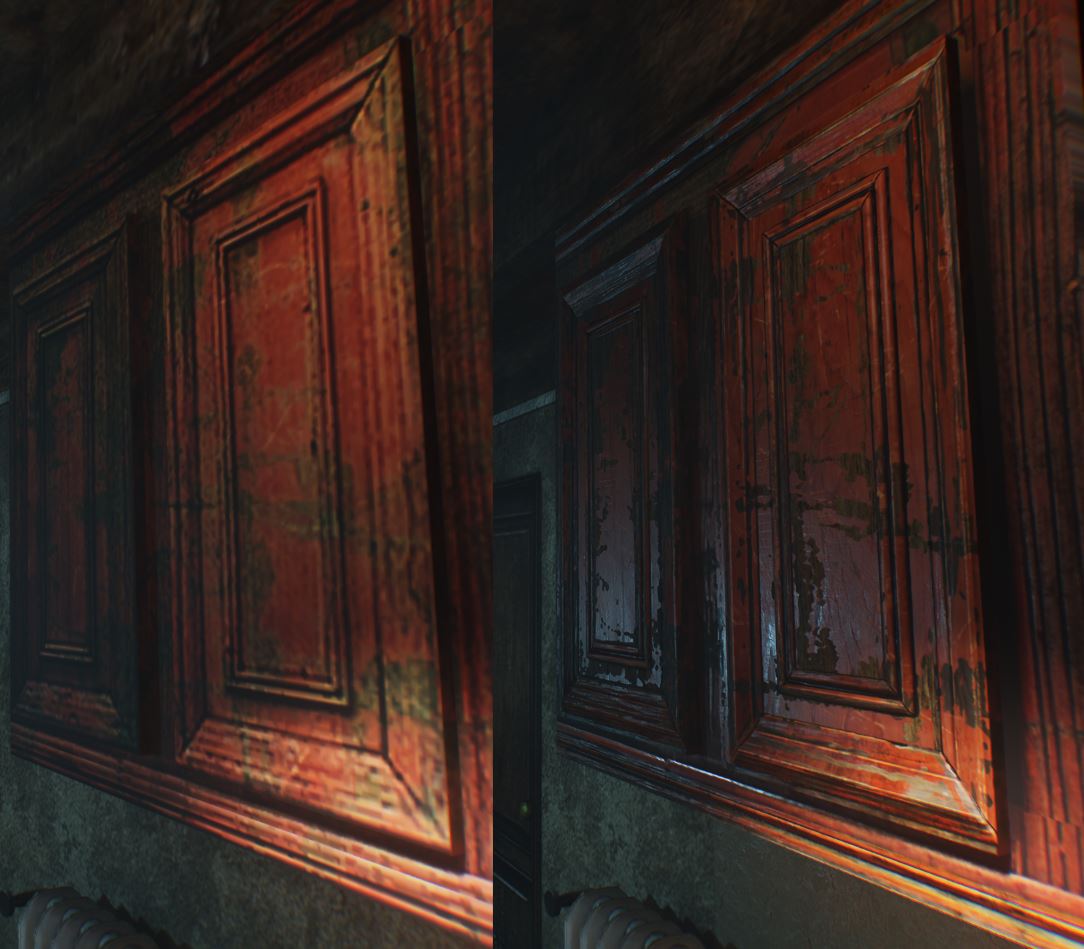
I'm happy with these results for now, but I will probably go back and tweak them, maybe add some noticeable edges to the paint where it chips, maybe work on the height map more... I'd like to try and capture some of the thicker contrast on the horizontal boards. But for now let's call this good.
Oh no... he's still talking...
Challenges and Hurdles
So that's the basic premise. But let's talk about some oddities to overcome. My favorite example so far is the door to exit the apartments.
In VTM:B, almost all the doors save a few are actually brushes, with a model for the handle attached to them, the door frame often sharing a part of the door texture. Meaning we can't really replace the door wholesale, they don't have stable geometry hashes from frame to frame.
So the door leading to the apartment is pretty easy, the door is from this texture that-
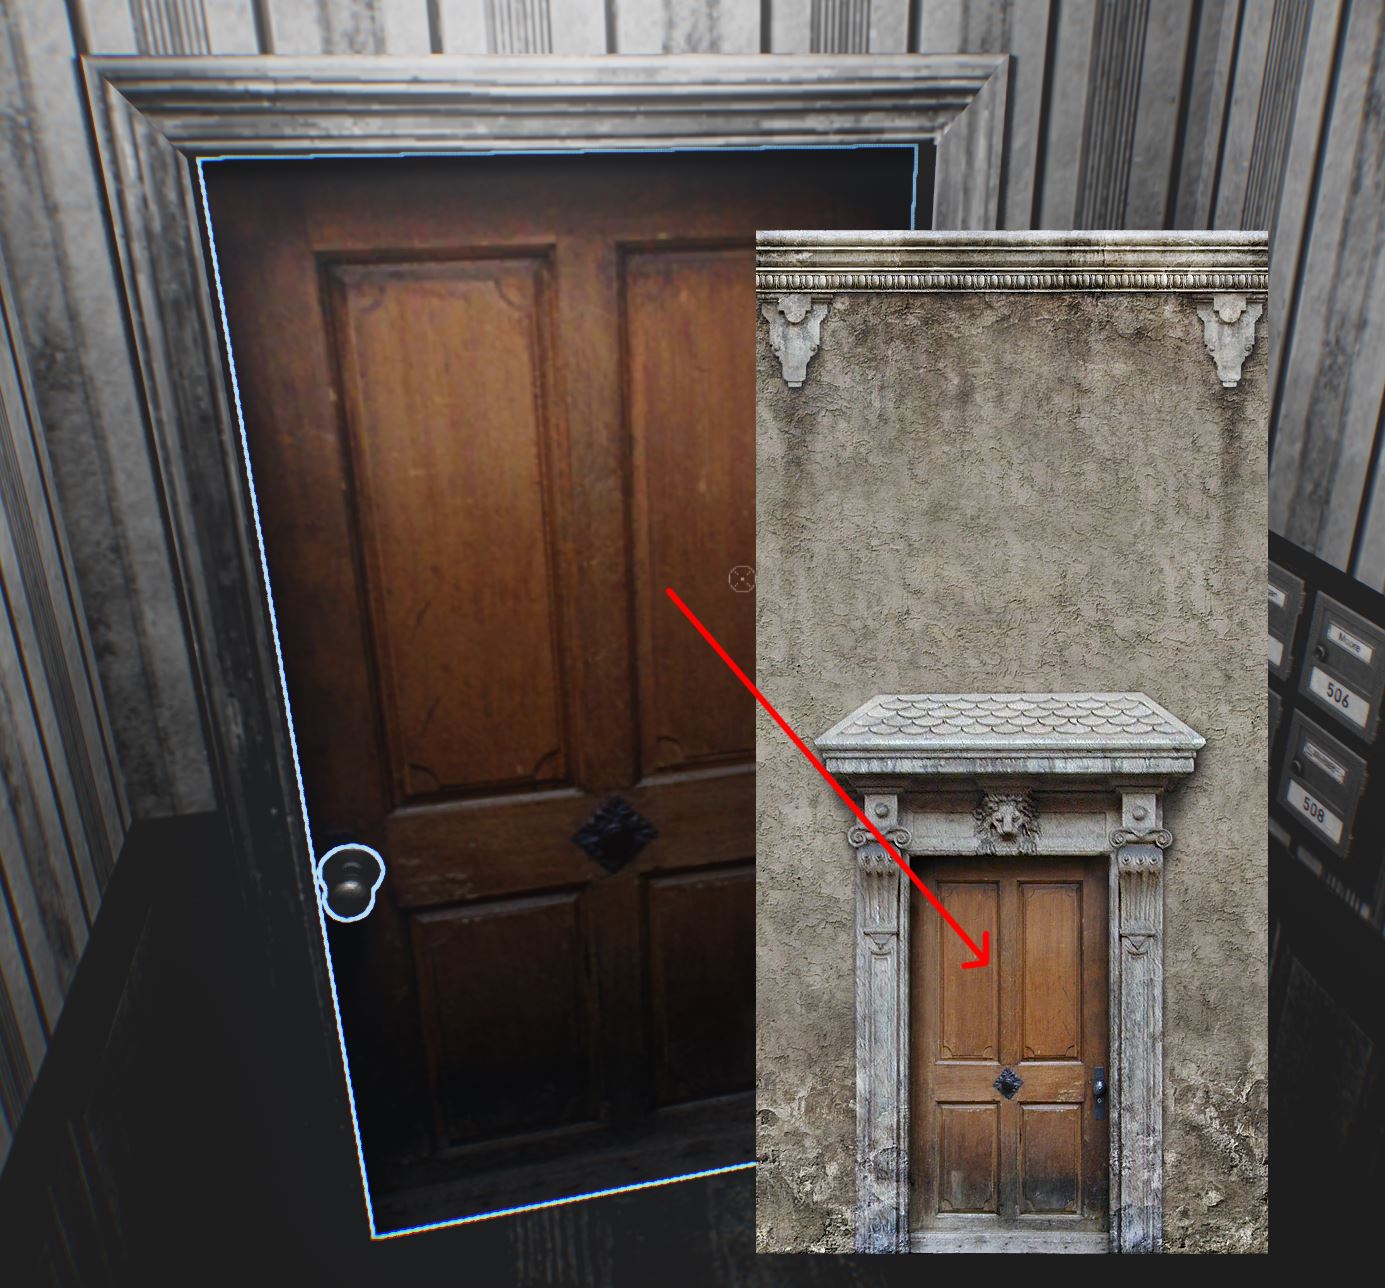
Huh that's weird. I don't see the door frame at all. Let's check the hash texture for the doorframe and see where it get's it from.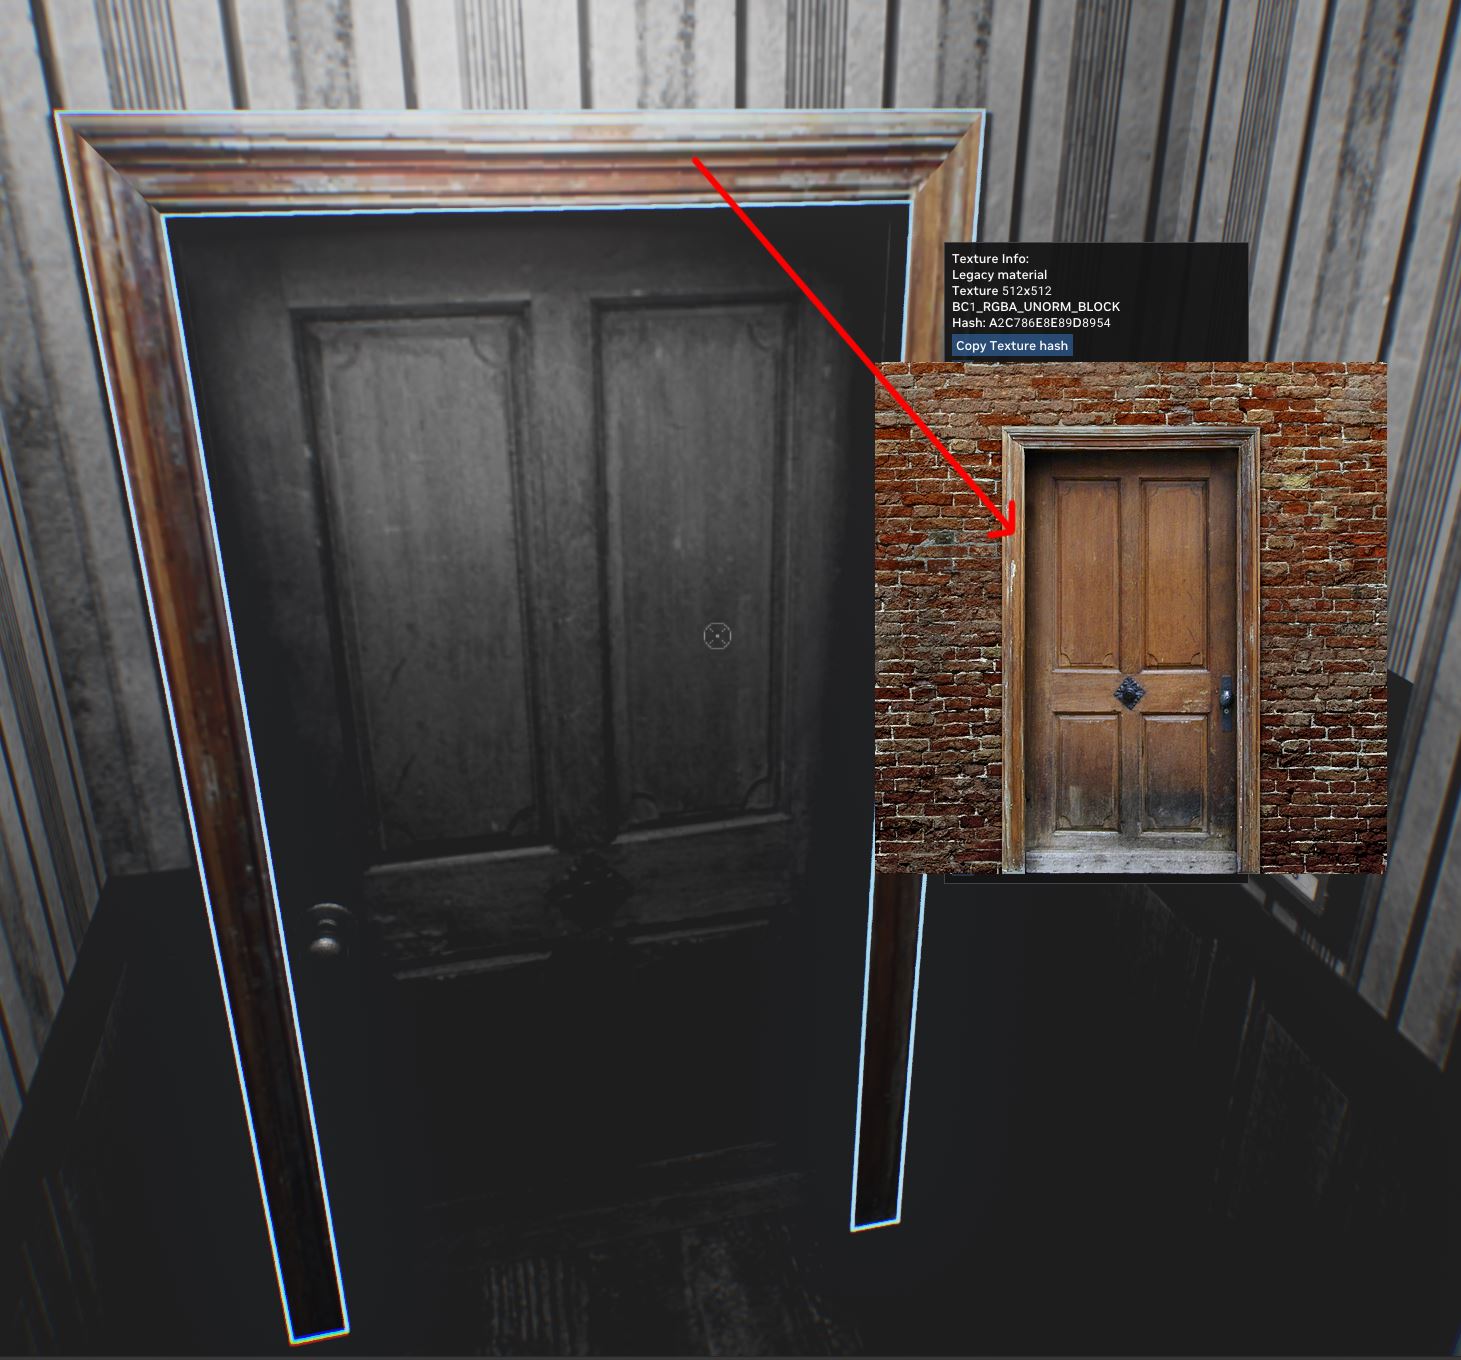
Ah yes I see... wait.. WHAT. Where does this door texture appear then?
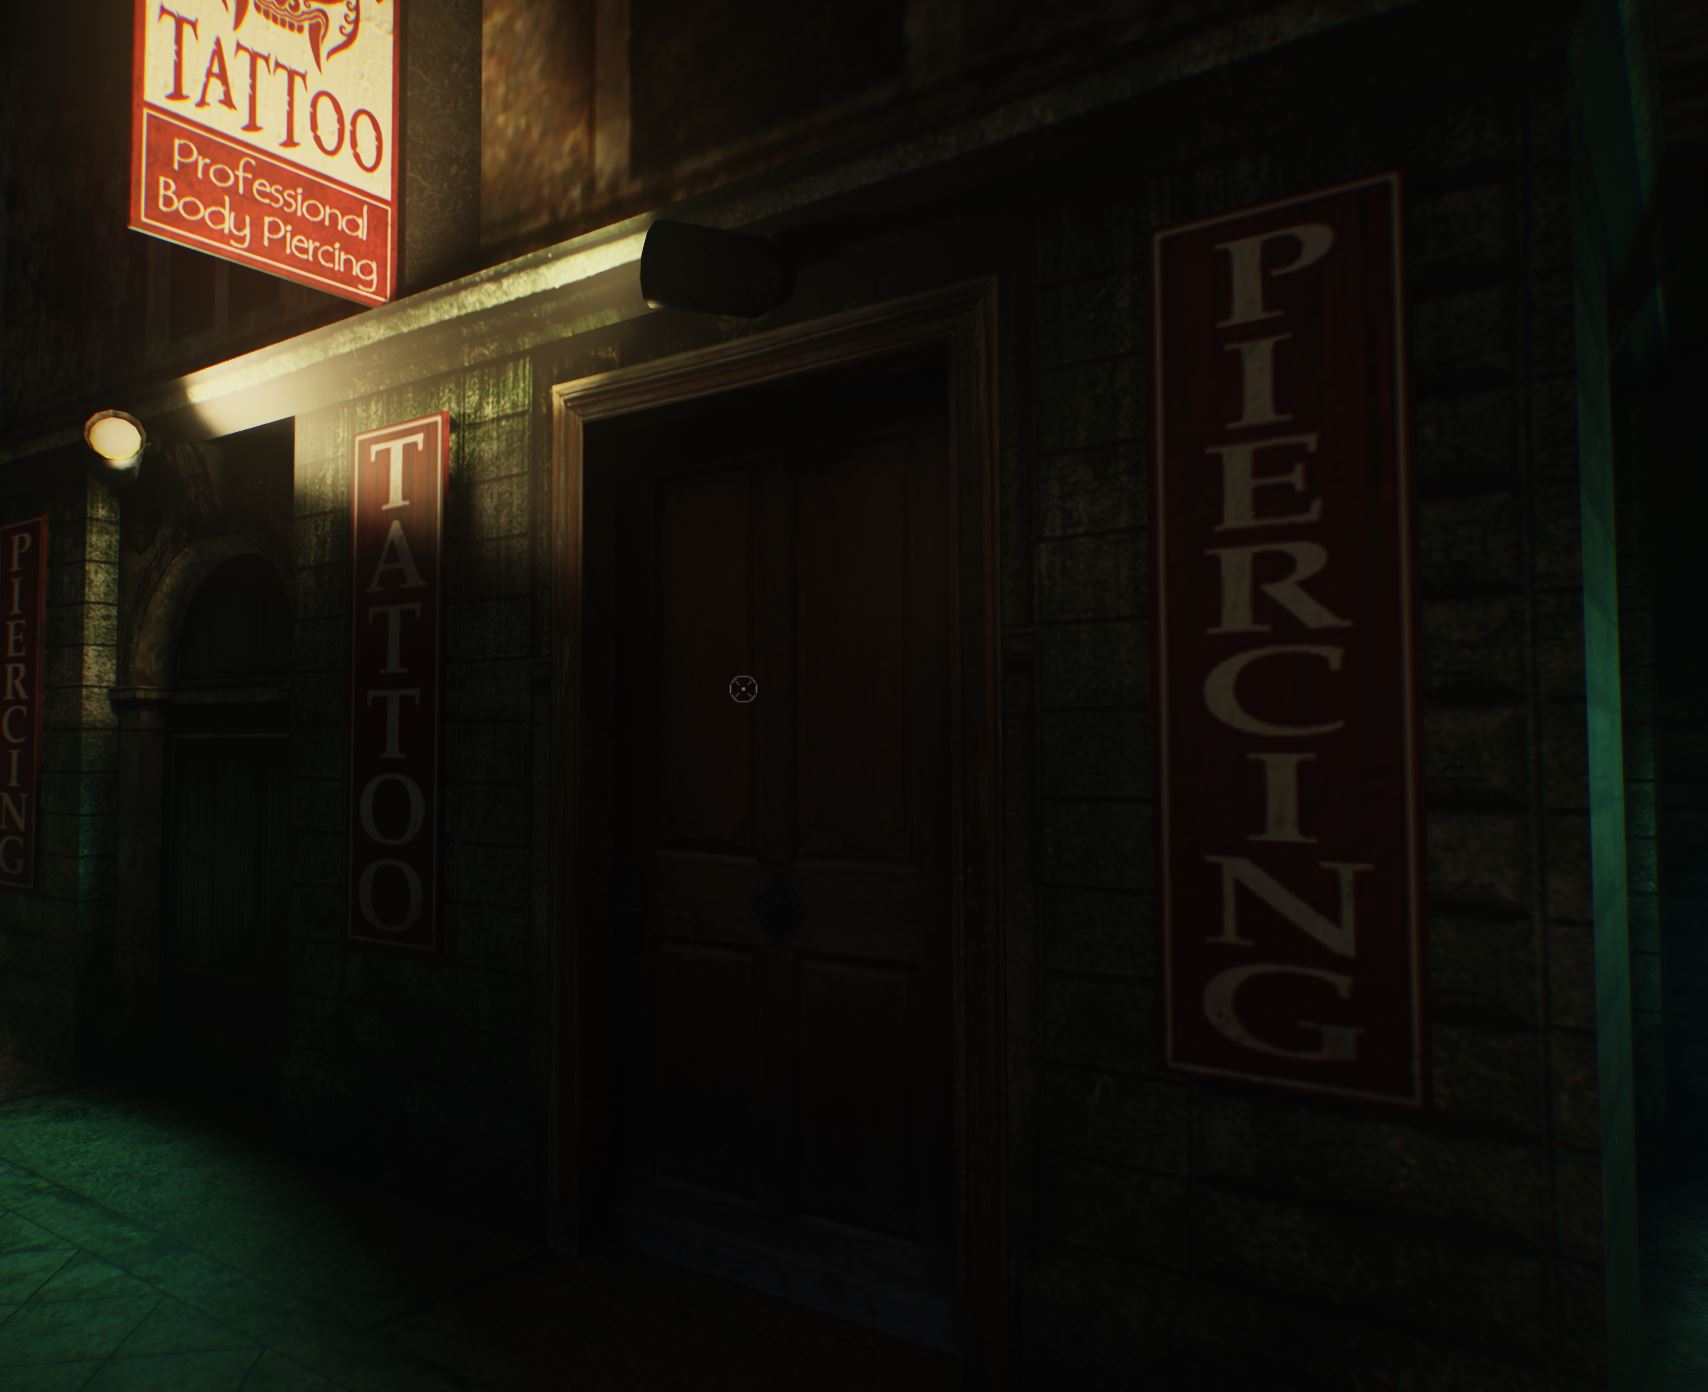
It appears on the door to the Tattoo parlor. Right across the street from...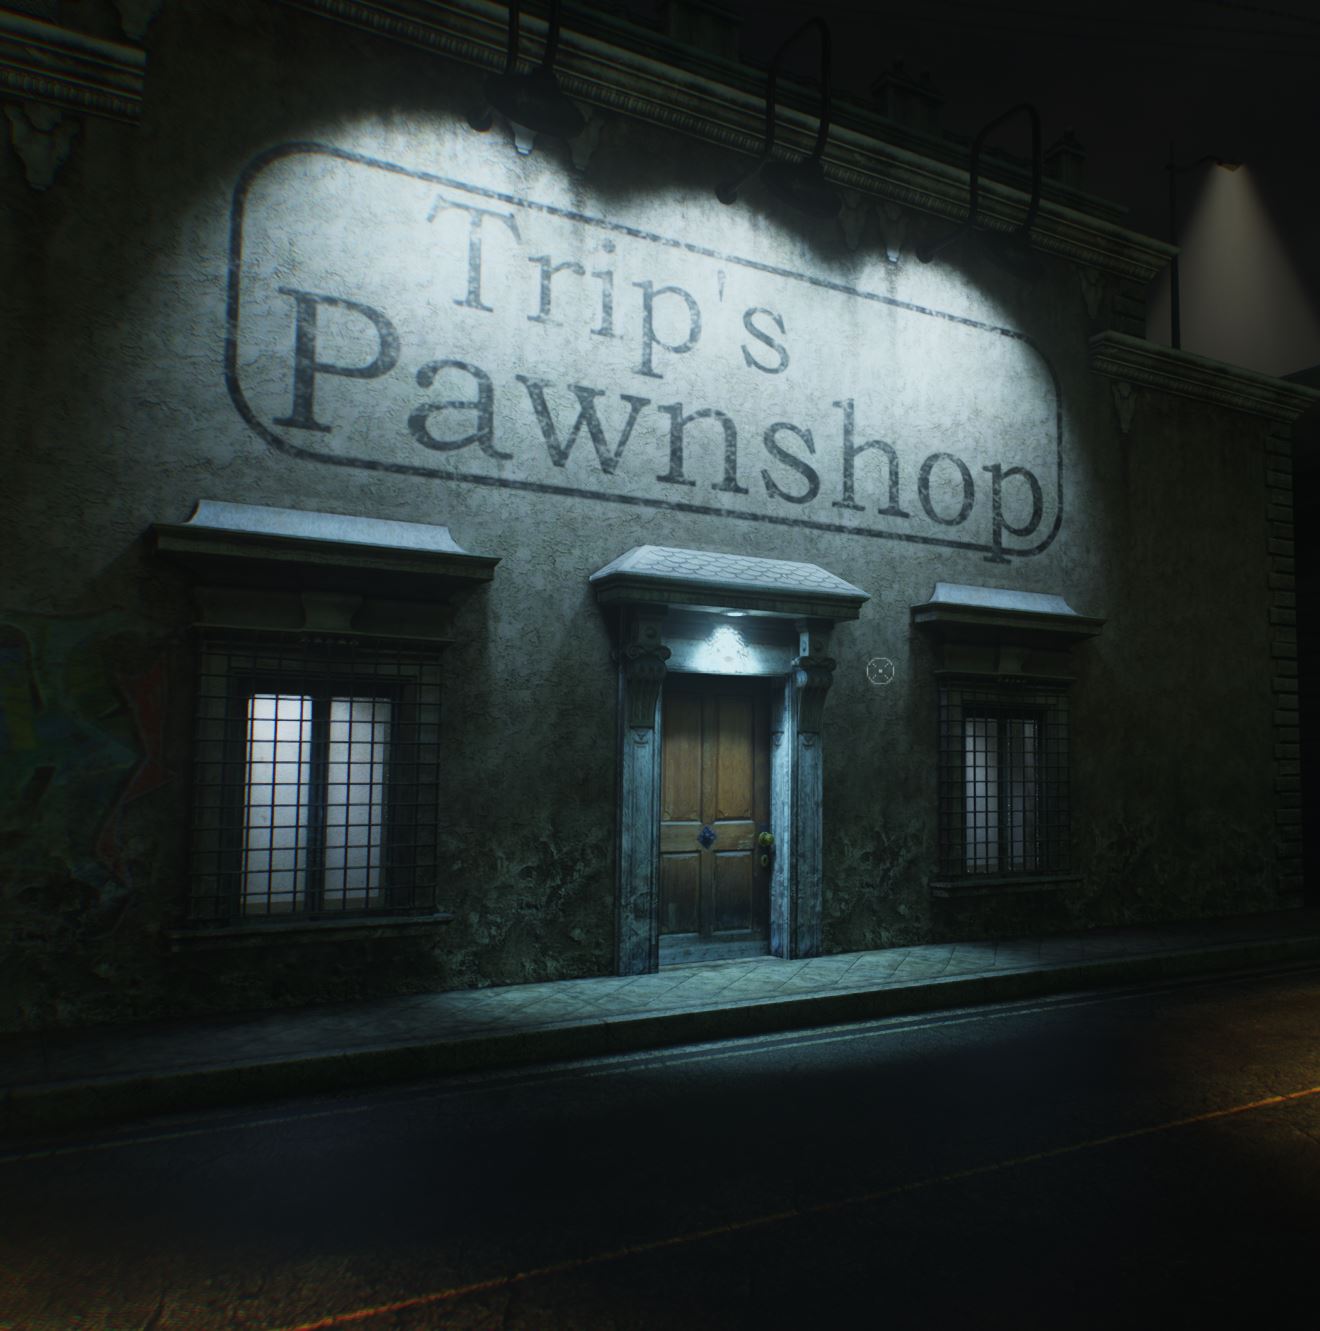
Well well well. So the pawnshop exterior door is shared with the apartment door, but uses the door frame from a different external door. You can maybe start to see how redoing the textures will have a sort of rippling effect on the game. To properly rebuild the door texture, I'll need to remake two different textures. But if I do that center door, I will need to redo the walls to the side as well to make it contiguous. It can be very easy to get sucked in. To add another wrinkle...
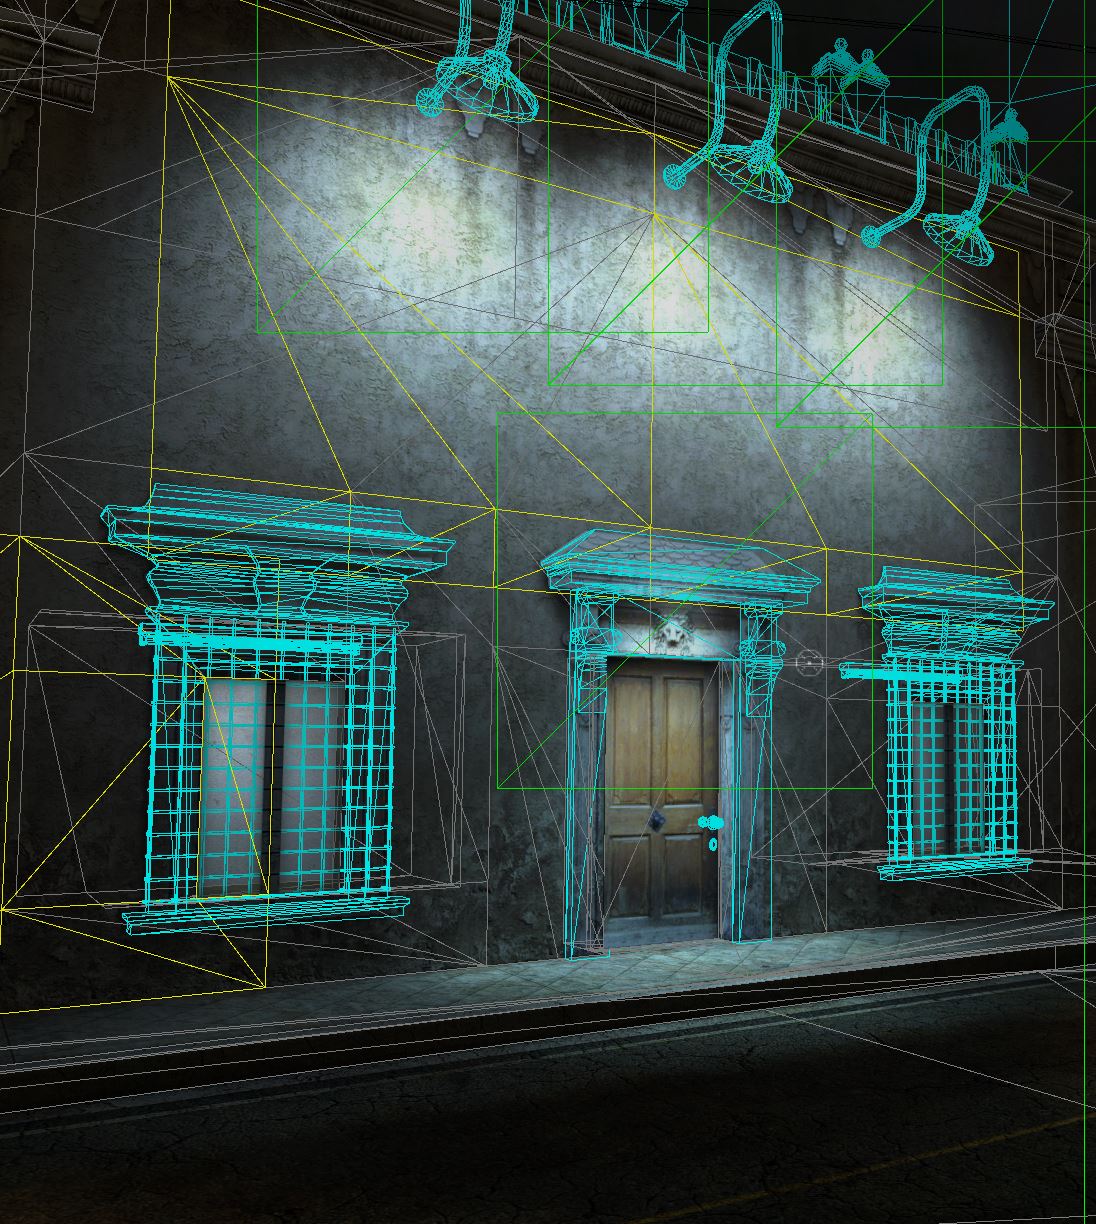
Recall that the blue outline means that it is an actual mesh that can be replaced!
I'll cut us off here, this is a rabbit hole. But hopefully I've illustrated how fun it is to dissect these old games, but also, how to tackle rebuilding them. I think the retexture of this specific area is going to have some ramifications for other areas of the game, but overall I'm not too worried, the workflow I illustrated above is actually super modular. So modeling that door for baking one texture... well guess what, I have the door already for making the brick variant!
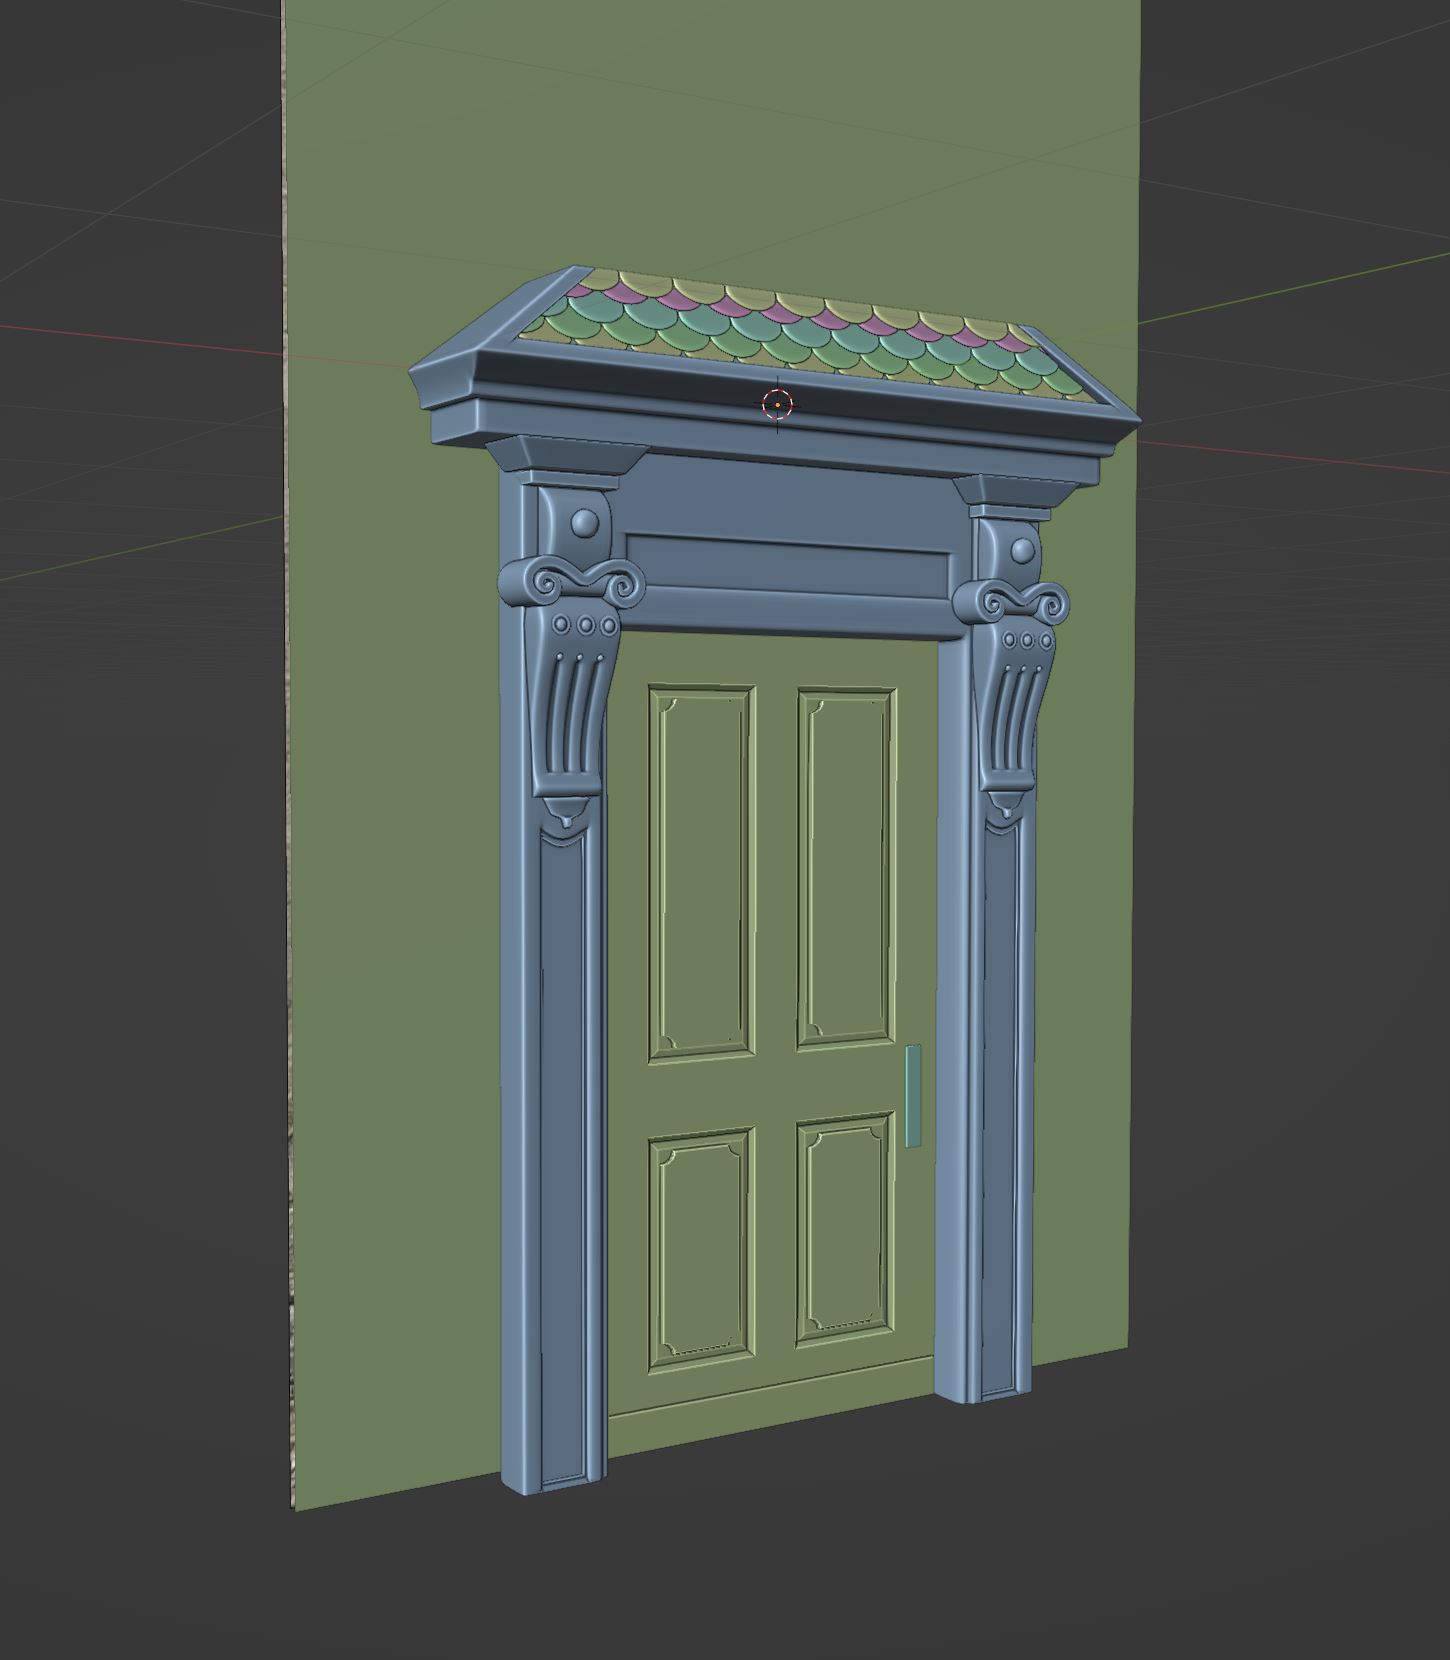
Here we go...
Hopefully I have a neat surprise to show soon, that will be a MUCH shorter post. But thanks as always for reading. Sorry this one was so long, the posts will be much shorter and more concise from here on out since we've covered the major bases.
Also thanks for your patience while I was dealing with these surprise health issues!
See you all soon!



Glad you are still working on this!
Yeah! Just lots of stuff going on IRL right now. Company leadership retreat, health issues, and family stuff. Funny how life just throws a ton at you at once.
Thanks for always dropping by to check on progress! Hopefully more to show soon!
The texture work on display so far is extremely impressive. Photo-based textures from the early 2000s don't get a lot of love, even amongst some of the better commercial re-releases, but I really like that you've opted to recreate them 1:1.
Hope you'll recover well after that misfortune (though doing reference work while in the ER is some serious dedication).
Appreciate that! I definitely want to keep the vibes of the photo ref coming forward even if they are procedurally generated now! Photo ref textures are just such a vibe...
Recovery is going okay! Doing lots of planning around how to finish of these textures!