Salutations,
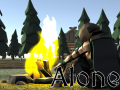
This week I started work on the combat map for holding the fort. There’s still a lot to be done, but we can have a quick look at what’s going on.
The combat map is very similar to the peace map, except that all the tribesfolk have been evacuated.
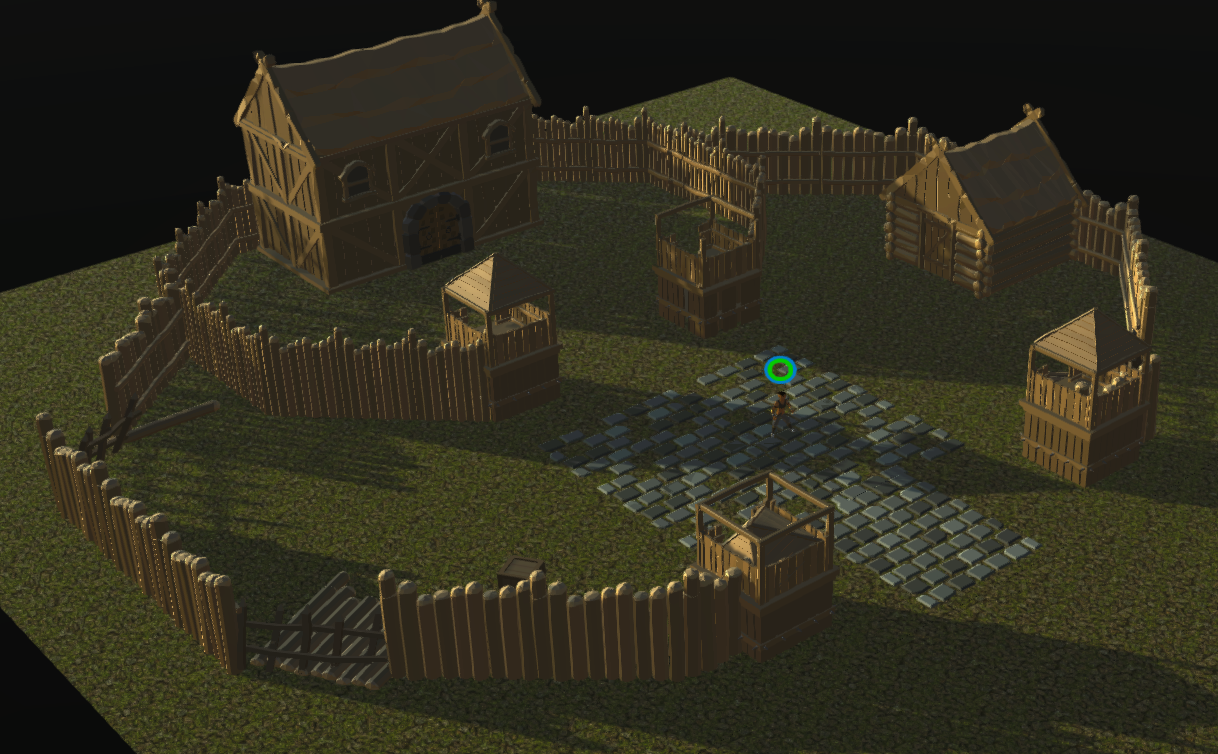
The goblins spawn in waves, and you have to hold out until the waves finish off. Each wave won’t start until the previous one has been entirely destroyed – so you can have some rest between them.
You might notice there’s a particular goblin who seems to be carrying a large red barrel.
That particular goblin will slowly beeline towards one of the crudely repaired barricades… and then…
(I’m still missing a small animation where they light the fuse, but this’ll do for now)
So, what happens if the side barricades are lost ? In this case more goblins will spawn in the next wave – from each of the barricades that are lost. The wave won’t be as large as the main spawn area, but it’s still a good idea to keep those barricades up for as long as possible to avoid getting overrun.
And that’s about it for this week. Next week I will continue working on the combat part of the mission, and then perhaps, upgrades.
Til then